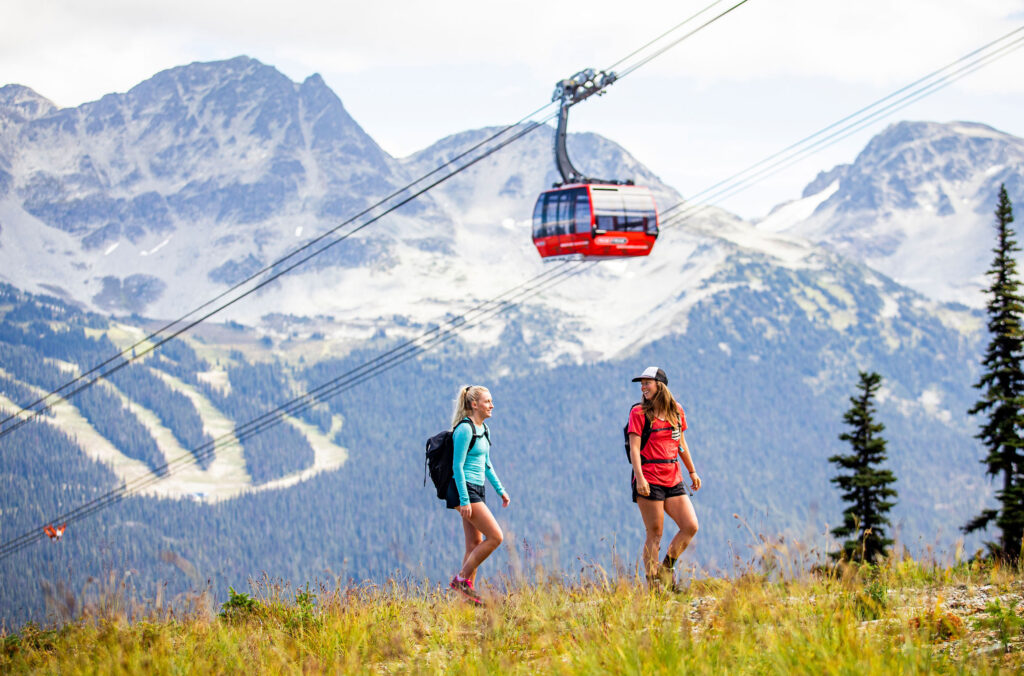
Looking for the best hikes in Whistler? We don’t blame you; hiking in Whistler is one of the main draws to the mountains in the summer months. From easy alpine walks on Whistler Blackcomb to challenging full-day hikes in Garibaldi Provincial Park and the Callaghan Valley, Whistler offers hiking trails for every skill level.
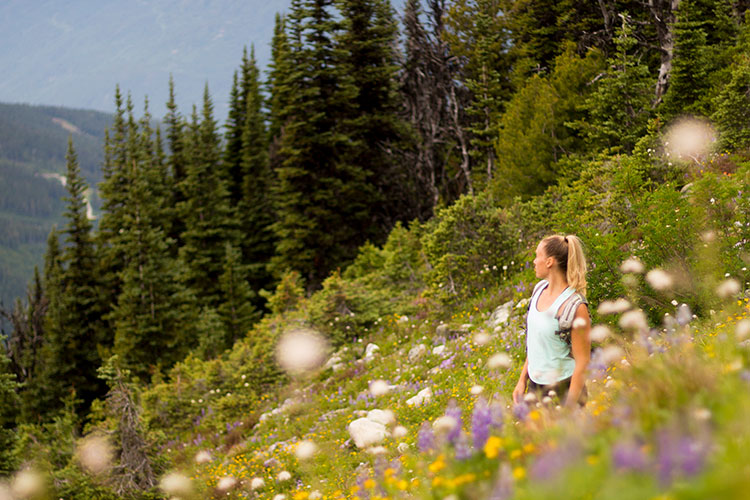
Where to Hike in Whistler
Best Hiking Trails on Whistler Blackcomb
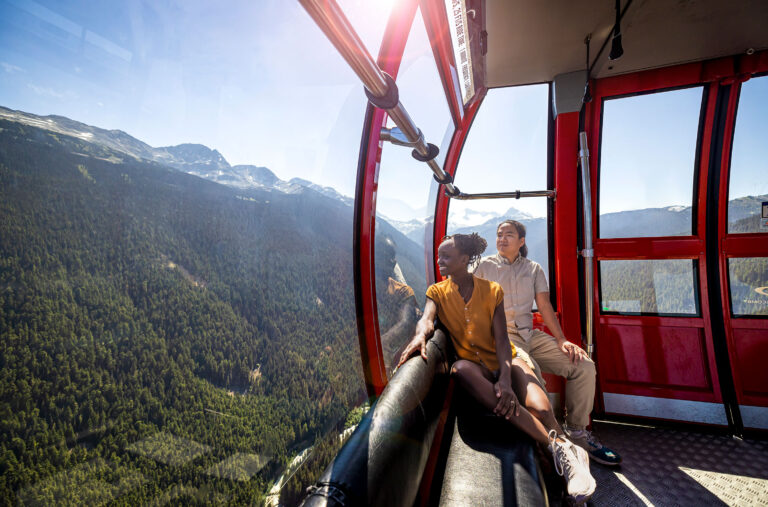
Get into the wide-open spaces of Whistler’s alpine in under 25 minutes with a Summer Alpine Experience Ticket. This gets you access to the Blackcomb Gondola, located in Whistler’s Upper Village, the Whistler Village Gondola, the award-winning PEAK 2 PEAK Gondola, and the open-air Peak Chair for access to the Cloudraker Skybridge and Raven’s Eye lookout experience.
Summer Alpine Experience Tickets do not sell out, so you can purchase them on arrival in Whistler at the Whistler Visitor Centre or Whistler Blackcomb Guest Relations, but the easiest way is to get them online, in advance.
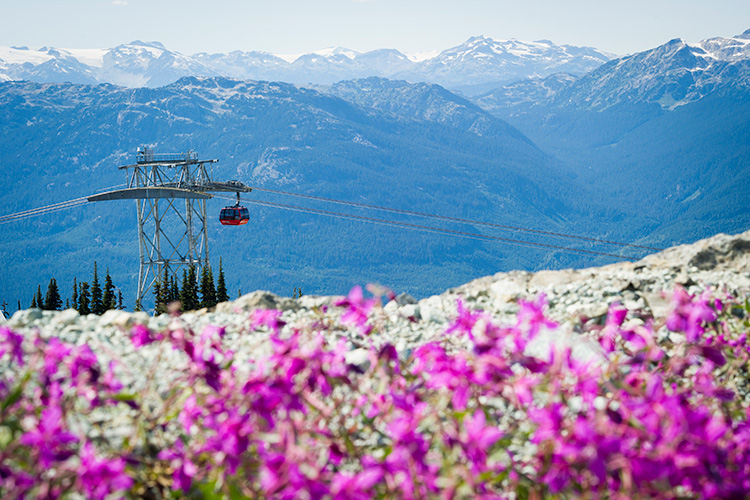
Many of these trails access alpine terrain, and opening dates for these trails vary year by year depending on snow coverage, so be sure to check which trails are open on Whistler Blackcomb before you go. The hikes on Whistler Blackcomb range from under an hour to full-day options. When you choose your route, it’s important to calculate the time it will take you so you don’t miss the last gondola download (it’s a long walk down).
Here are a few of my suggestions for hiking on Whistler Blackcomb.
Blackcomb Mountain Hikes
Alpine Loop (1.4 km / 30 minutes) > Overlord Trail (3.7 km / 60-80 minutes ) > Lakeside Loop (2.2 km / 40 minutes) > Marmot Trail (1.2 km / 40 minutes) > Decker Loop (3.3 km / 75 minutes)
Alpine Loop
- Distance: 1.4 kilometres
- Time: 30 minutes
- Difficulty: Easy
Warm up your hiking boots with the gentle and vista-filled Alpine Loop accessed straight from the Rendezvous Lodge on Blackcomb Mountain. If you’re a one-and-done kind of hiker, take it slow and soak it all in.
Overlord Trail
- Distance: 3.7 kilometres
- Time: 60 to 80 minutes
- Difficulty: Moderate
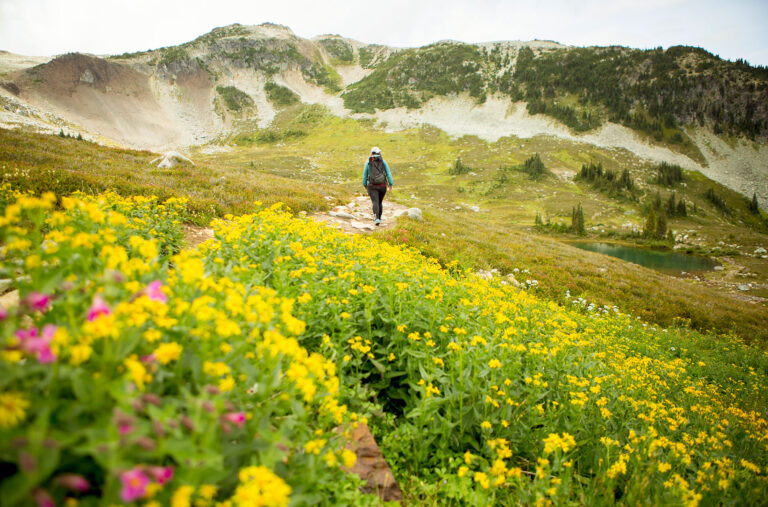
Those looking to push further should look out for signs to the Overlord Trail. This can be done as a there-and-back, but there are a few options to extend your hike and make it a loop. The first branch off the Overlord Trail is Lakeside Bowl, accessed via the Lakeside Loop Trail. Popular with skiers in the winter, it makes for a stunning summer spot and is often full of wildflowers.
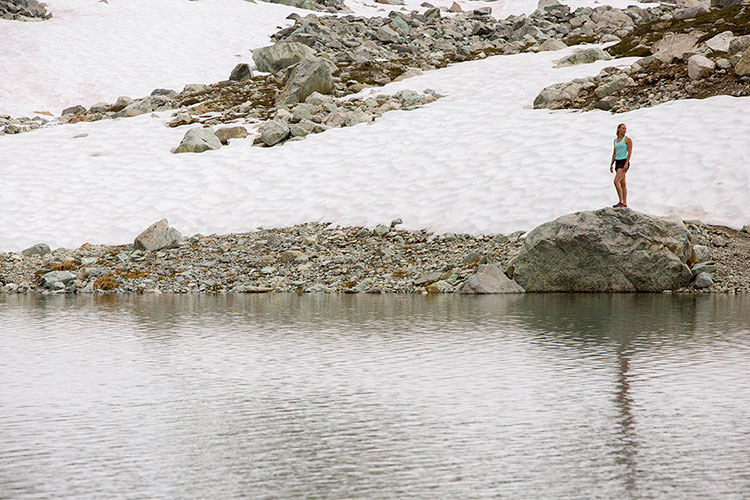
Back on the Overlord Trail, you’ll enjoy glacial views above and the lush green depths of the Fitzsimons Valley below. Add a technical section and alpine lake, the Decker Tarn, by adding on the Decker Loop Trail. This trail is rated as difficult, so careful footwork is required. Be sure to wear supportive shoes and bring trekking poles if you have them.
On the way back, you can return on either the Overlord Trail and Alpine Loop, or the Marmot Trail and Southside Green Road that skirts the Glacier Creek Basin.
Hiking the Blackcomb Ascent Trails: Blackcomb Mountain
Made for the adventurous and physically prepared, the Ascent Trails start at the base of Blackcomb Mountain and deliver you to the top of the Blackcomb Gondola after some serious sweat equity (a 6.2-kilometre journey with 1,200 metres of elevation gain).
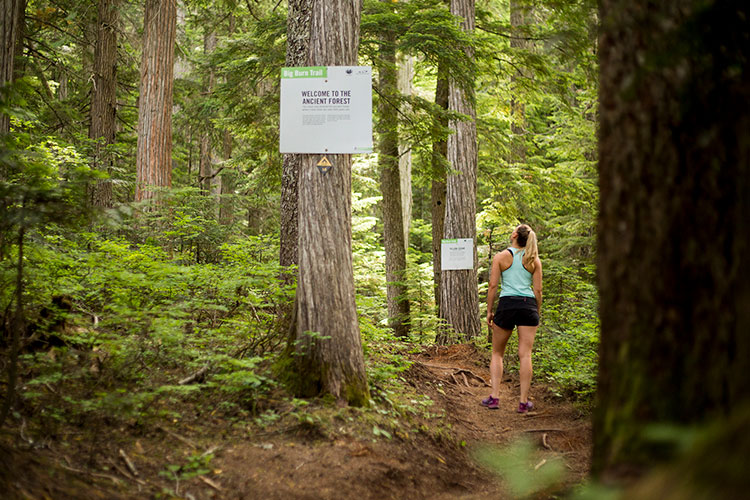
The trail is broken into three sections, so you can do parts of the trail without committing to the whole hike. These are broken down into the aptly-named Little Burn (0.8 km / 30 minutes), Big Burn (2.2 km / 75 minutes) and Heart Burn (3.1 km / 1 hour, 45 minutes).
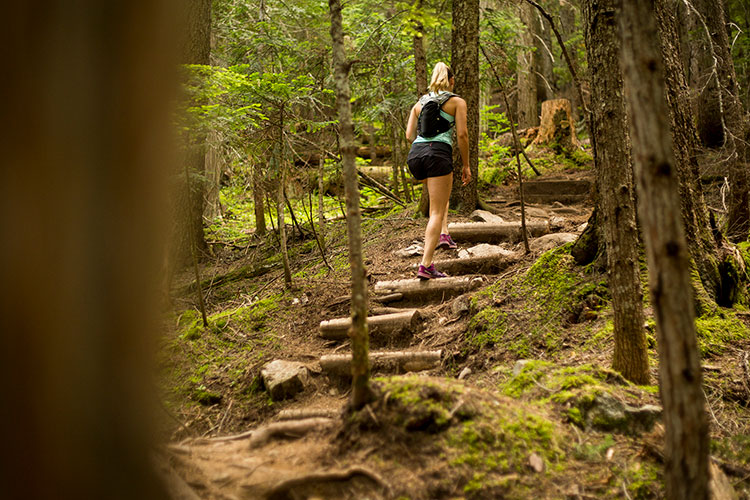
If you do Big Burn, you will end up at the Blackcomb Gondola mid-station, and if you have a Summer Alpine Experience ticket or next winter’s season pass, you can ride the gondola back down the mountain. You can also pre-purchase a Blackcomb Ascent Trail Midstation Download Only Ticket, but you have to grab it ahead of time, as they’re not available to buy at the Midstation.
The entire Ascent Trail takes around three and a half hours one way, uphill, finishing at the top of the Blackcomb Gondola, next to the Rendezvous Lodge. Again, if you have a Summer Alpine Experience ticket or next winter’s season pass, you can ride any gondola across or down. You can also pre-buy a Blackcomb Ascent 1-Day Trail Ticket, which gives you access to any of the gondolas once you’ve reached the top (but you have to hike up).
The trail has excellent markers and educational signage about the local wildlife and vegetation. There is good shade coverage in the trees, with some open, ski run crossings for a dose of sunshine and views.
Note: Dogs are not allowed on Whistler Blackcomb (except for registered aid dogs).
Whistler Mountain Hikes
Spearhead Loop (1.2 km / 60 minutes) > Harmony Lake Loop (1.9 km / 90 minutes) > Harmony Meadows (1.6 km / 45 minutes)
Test your hiking legs with a nice loop starting right from the top of the Whistler Village Gondola – the Spearhead Loop. It shows off the best views of the adjacent Blackcomb Mountain, and you have the option to extend your hike to include the gorgeous Harmony Lake, complete with boardwalks and more vistas.
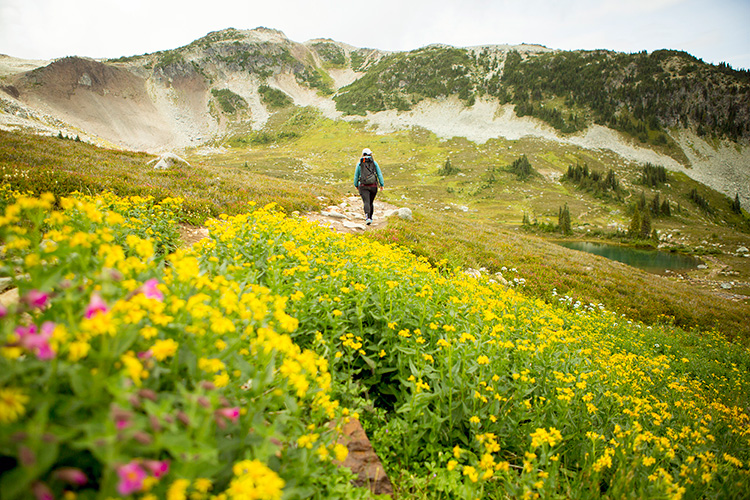
If you’re a seasoned hiker, opt for the more technical Harmony Meadows Trail, which is often filled with alpine wildflowers and trickling streams. The Harmony Meadows Trail connects back to the Spearhead Loop for a complete circuit.
Half Note (3.2 km) and High Note Trail (9.4 km)
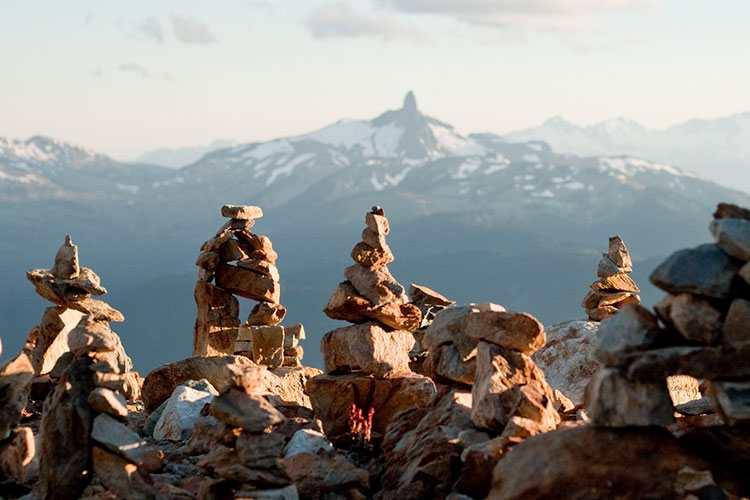
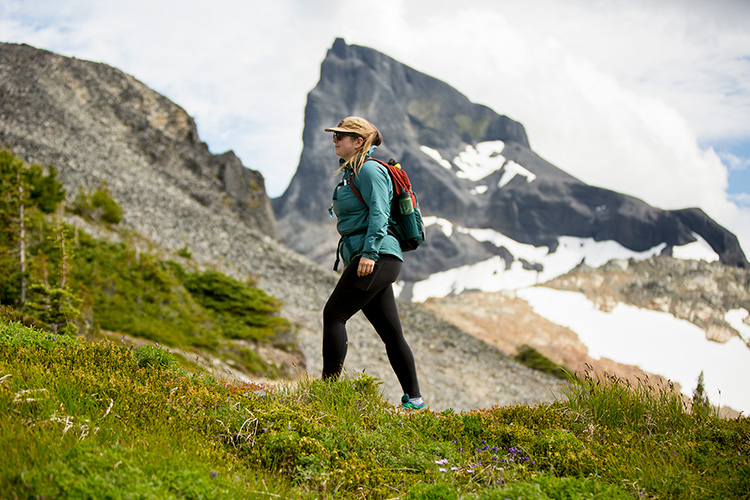
The Half Note and High Note trails are Whistler Mountain’s longest hikes and showcase views of Black Tusk, Cheakamus Lake and Cheakamus Glacier. To get to the trailhead, you can take either Pika’s Traverse Road or Mathew’s Traverse Road, or choose the Harmony Lake circuit.
Note: Some parts of Whistler Blackcomb are in Garibaldi Provincial Park, but if you’re accessing the park via Whistler Blackcomb, you do not need a separate day-use pass from BC Parks.
Best Hiking Trails Near Whistler Village
Hiking in the Callaghan Valley
The Callaghan Valley is raw, remote and absolutely epic. Glacial ice hangs in all directions, peaks tower overhead, and the area is full of swimmable lakes of varying sizes. For more information on hiking in Whistler Olympic Park, Madeley Lake, Cirque Lake, Conflict Lake, and Ring Lake, read our insider’s guide to the Callaghan Valley.
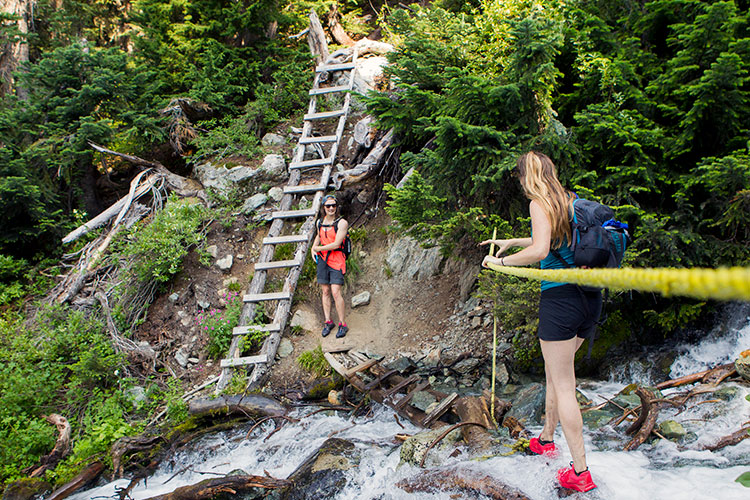
Please know that Whistler is bear country, and the Callaghan Valley is an area where you may encounter them. We would advise you to be bear aware and read up on what to do if you do see one, as well as carry bear spray. So you’ve got what you need, we have a dedicated hiking gear blog and a safety blog too.
Hiking Rainbow Mountain
This mountain has hiking on literally every side. All hikes on Rainbow Mountain are full-day trips, aside from the 1.5-kilometre in-and-out trail to Rainbow Falls. Both sides offer lakes as the final destination, including Rainbow Lake, Iceberg Lake, Beverly Lake and Screaming Cat Lake.
Learn more about it in Insider’s Guide to the Skywalk Trail and Rainbow Mountain Hiking Trails, and in this video produced by AdventureSmart BC.
Dogs are not allowed on Rainbow Mountain, and check for any trail closures before you head out, as sometimes sections of this mountain are closed to mitigate wildlife conflicts.
Hiking Garibaldi Provincial Park
For hiking routes in Garibaldi Park, read Insider’s Guide: Hike or Bike to Cheakamus Lake and Insider’s Guide: Hiking Black Tusk. Wedgemount. Make sure you check BCparks.ca for information on the free day-use passes (vehicle and trail), which are required during peak hours, as well as any advisories or closures.
Before you go, make sure to review the BC Parks Responsible Recreation Guide to brush up on how to recreate safely and respectfully this summer.
Whistler Half-Day Hikes
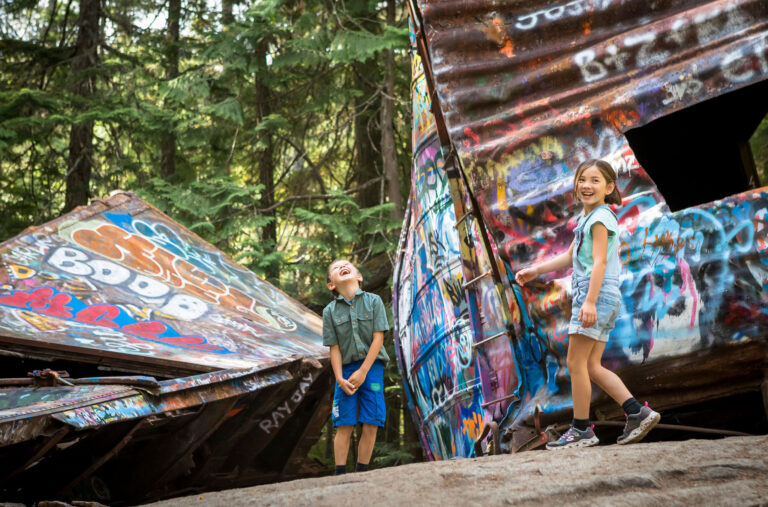
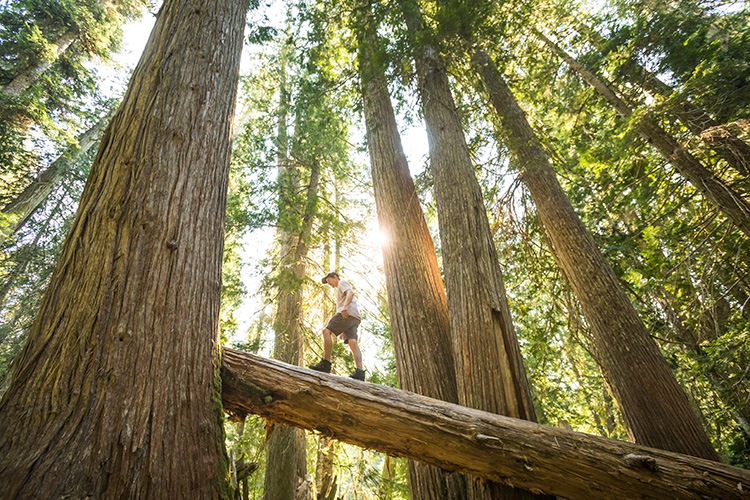
Whistler has some great half-day hikes like the Lost Lake trail network, Parkhurst Ghost Town Loop, and Ancient Cedars Trail (a short drive away). These are popular in the height of the summer months, so consider doing them midweek if possible.
What to Take Hiking in Whistler
Be prepared for any adventure with a full phone battery, but don’t rely on service if things go wrong. Have a map (and know how to use it), tell someone your plans and your estimated return time. Be prepared and read through the hiking information on AdventureSmart.ca.
Stay within your ability. Areas like the Alpine Trail Network and Rainbow Lake provide access to stunning and remote vistas, but require hikers to be both physically and mentally prepared.
Whether your outing is measured in hours or days, don’t leave home without these key items. Being prepared for anything is important here in British Columbia, as varying weather and technical terrain can often surprise us.
- Flashlight, spare batteries and bulb
- Fire-marking kit, such as waterproof matches/lighter and a fire starter/candle
- Signalling device such as a whistle or mirror, or even better, an emergency communication device like a Spot, BivyStick, or Satellite Phone.
- Extra food and water (1 litre per person)
- Extra clothing, including rain, wind, water protection and toque (hat)
- Navigation and communication aids
- First aid kit (know what’s in it and how to use it)
- Emergency shelter, such as a tarp
- Pocket knife
- Sun protection: glasses, sunscreen and hat
For a list of hiking essentials, visit the “Pack Like a Pro” page on the AdventureSmart website.
Help Preserve Our Wild Spaces
Not only is it important that you take care of yourself, your friends and respect the new protocols when venturing on a hike in Whistler, but it is also important to care for the special places you visit.
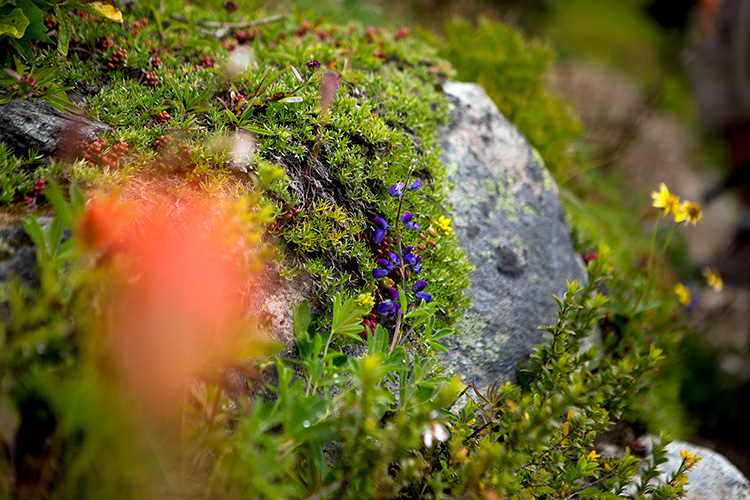
Help keep our beautiful backyard pristine by packing out all garbage, using outhouses when available and taking nothing but photos. The Resort Municipality of Whistler has some helpful tips on hiking etiquette.
- Practice bear safety, such as managing your attractants and giving bears space. Read more in our blog, Bear Aware.
- Stay on designated trails and obey all trail signs. Avoid shortcuts and trail braiding to protect the natural habitat.
- Be aware of current fire danger ratings. Do not flick butts or matches, and where campfires are permitted, drown campfires before leaving. Wildfire is a real threat to Whistler. If you see a fire, call 9-1-1.
- Prevent the spread of invasive species by cleaning your gear before entering and when leaving a trail area
- Protect Whistler’s water supply. Do not fish, camp or defecate in the watershed. If you’ve gotta go, dig a hole at least 60 metres from a watershed and at least 30 centimetres deep. Cover it up after use.
- Dogs are prohibited from the Sproatt and Rainbow Alpine Networks. In other areas, keep dogs on leash, as off-leash dogs can create conflict with bears and other wildlife.
Whistler Hiking FAQ
When is hiking season in Whistler?
Valley and lower-elevation trails (Lost Lake, Train Wreck, Cheakamus River, Valley Trail, etc.) are usually accessible from April or May through October/November, depending on snow conditions. Most alpine hiking is best from late June through early October, after the snow melts from higher elevations.
Peak hiking season is July and August, when alpine trails are generally snow-free, and wildflowers are out.
Do you need a pass to hike on Whistler Blackcomb?
If you’re accessing hiking on Whistler Blackcomb via the lift and gondola system, you require a pass. The Summer Alpine Experience Ticket/Pass provides access to the Blackcomb Gondola, Whistler Gondola, PEAK 2 PEAK Gondola, and alpine hiking trail network.
If you’re willing to hike up under your own power, the Blackcomb Ascent Trails can be hiked from Whistler’s Upper Village without purchasing a lift ticket. However, if you want to ride the gondola down afterward, you’ll need a pre-purchased sightseeing/alpine access ticket.
Are dogs allowed on Whistler Blackcomb hiking trails?
No.
Certified guide and service dogs are welcome on Whistler Blackcomb and may ride gondolas and access mountain facilities with their handlers. Service dogs are not permitted on chairlifts and must remain leashed or harnessed and under control at all times.
What should I pack for hiking in Whistler?
Check out this list of hiking essentials on the “Pack Like a Pro” page on the AdventureSmart website.
Are there beginner hikes in Whistler?
Yes! Both in the Whistler Valley and on Whistler Blackcomb.
If you have any questions, the Ask Whistler Live Chat Service via Facebook Messenger, WhatsApp, SMS and phone.