Editor’s Note: This blog post has tips, advice and links to resources on backcountry exploration, but should not be the sole resource you rely on before heading into the backcountry. You should have education, training and a solid plan before you step foot (or ski) into the backcountry.
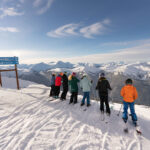
Beyond the immaculately groomed runs and controlled terrain, manicured by the talented team at Whistler Blackcomb, lies another area to explore – Whistler’s backcountry.
Know Before You Go
Know Before You Go from Avalanche Canada on Vimeo.
First, let’s define the term backcountry so we’re all on the same page. Backcountry is any area / trail / peak / zone that is not controlled. These areas can be your favourite valley-accessed summer hiking trails or alpine peaks, but in winter, these areas are now subject to avalanche danger. In winter, inbounds at Whistler Blackcomb, the ski patrol mark hazards, label runs and routes, do avalanche control and respond to emergencies. As soon as you step outside the resort boundary, none of these conveniences is there for you, even if you can see the resort from your location.
Entering the backcountry if exciting and fun, but it is only sustainable and safe when you take the steps below to prepare properly for the elevated risk. It’s also important to note that while we might hear words like “slackcountry” or “sidecountry”, they mean the same thing as backcountry, an uncontrolled and unsupported region.
Now, let’s get you properly prepared for your first backcountry outing.
Following the advice from Avalanche Canada and the “Know Before You Go” video, we’ve outlined some steps to get you into Whistler’s backcountry safely. Remember, all of these steps need to take place before you venture out. It’s important that everyone who is going with you has the knowledge, training and gear, so you can equally support each other if an incident occurs.
The Avalanche Terrain Exposure Scale
As a reminder, your AST-1 teaches you how to identify and travel within what the Avalanche Terrain Exposure Scale (ATES) classifies as Simple Terrain. Around Whistler, we have a lot of terrain that spans all three ATES definitions, which are Simple, Challenging and Complex.
Simple Terrain: Involves exposure to low-angle or primarily forested terrain. Some forest openings may involve the runout zones of infrequent avalanche paths. Many options are available to reduce or eliminate exposure to avalanche danger. No glacier travel is required.
Challenging Terrain: Involves exposure to well-defined avalanche paths, starting zones, or terrain traps. In challenging terrain, options exist to reduce or eliminate exposure with careful route-finding. Any required glacier travel is straightforward but crevasse hazards may exist.
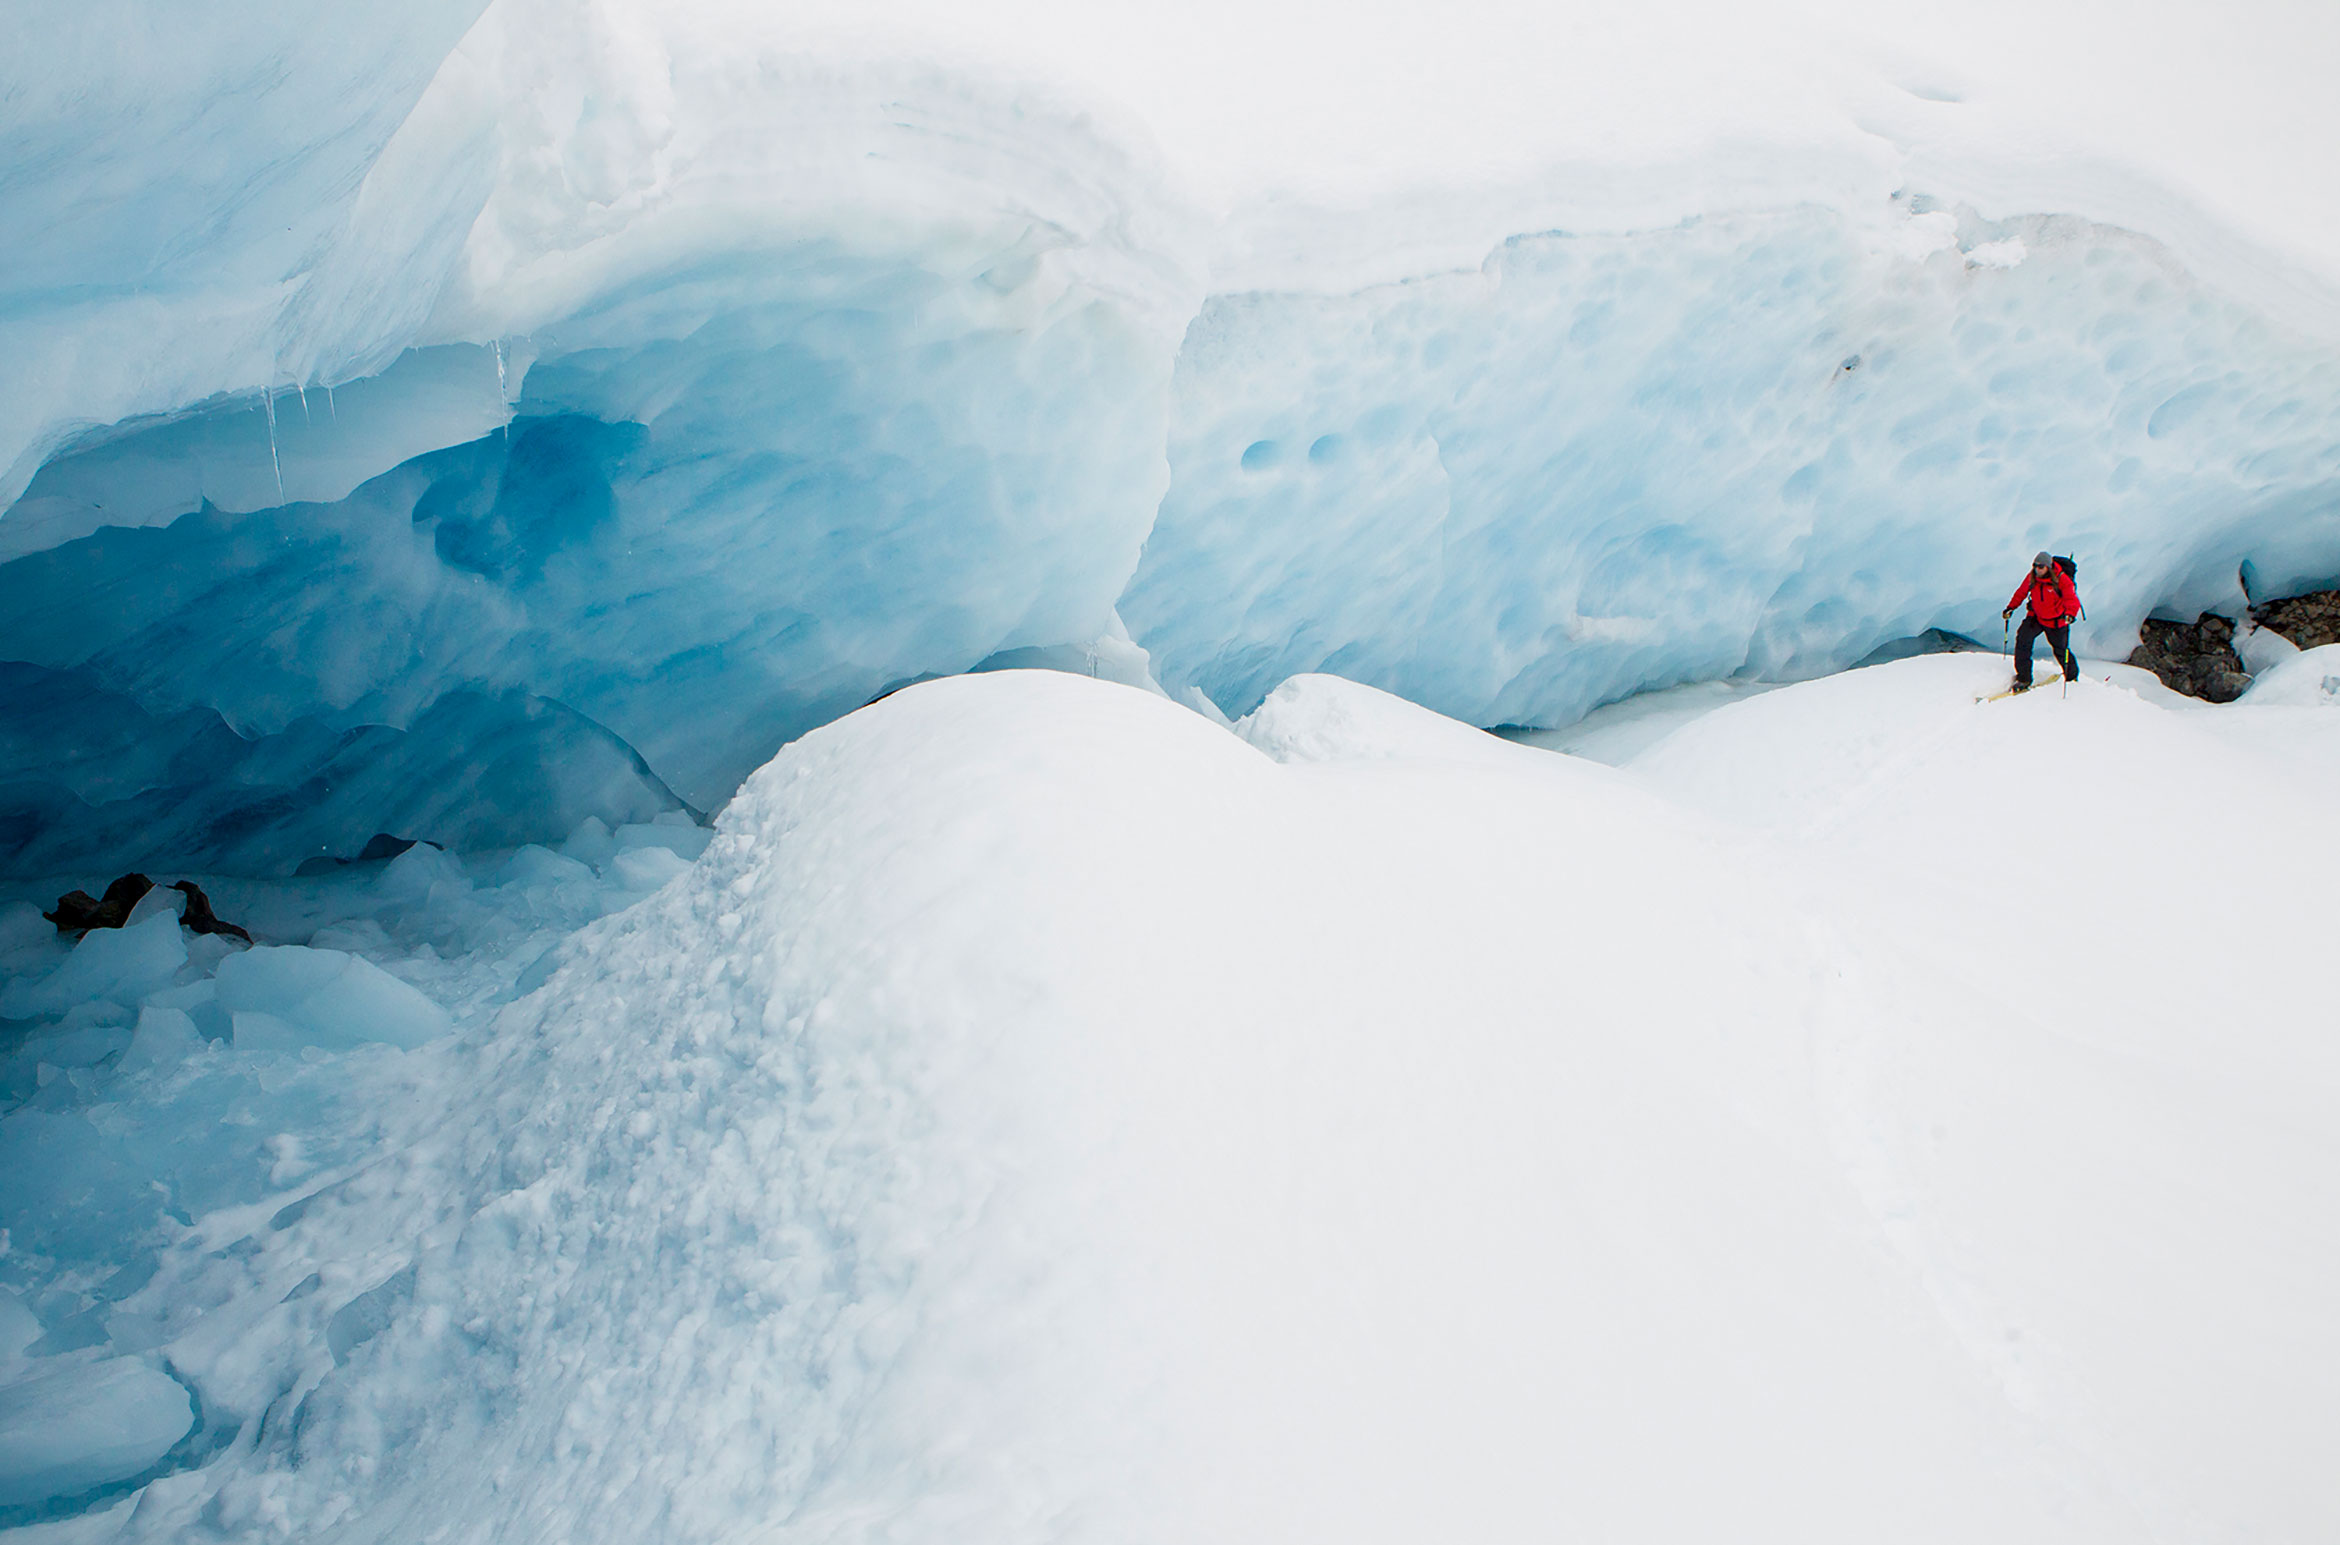
Complex Terrain: Involves exposure to multiple overlapping avalanche paths, large expanses of steep, open terrain, multiple avalanche starting zones, and terrain traps below. Minimal options exist to reduce exposure. Complicated glacier travel through extensive crevasse bands or icefalls may be required.
(Definitions by Avalanche Canada)
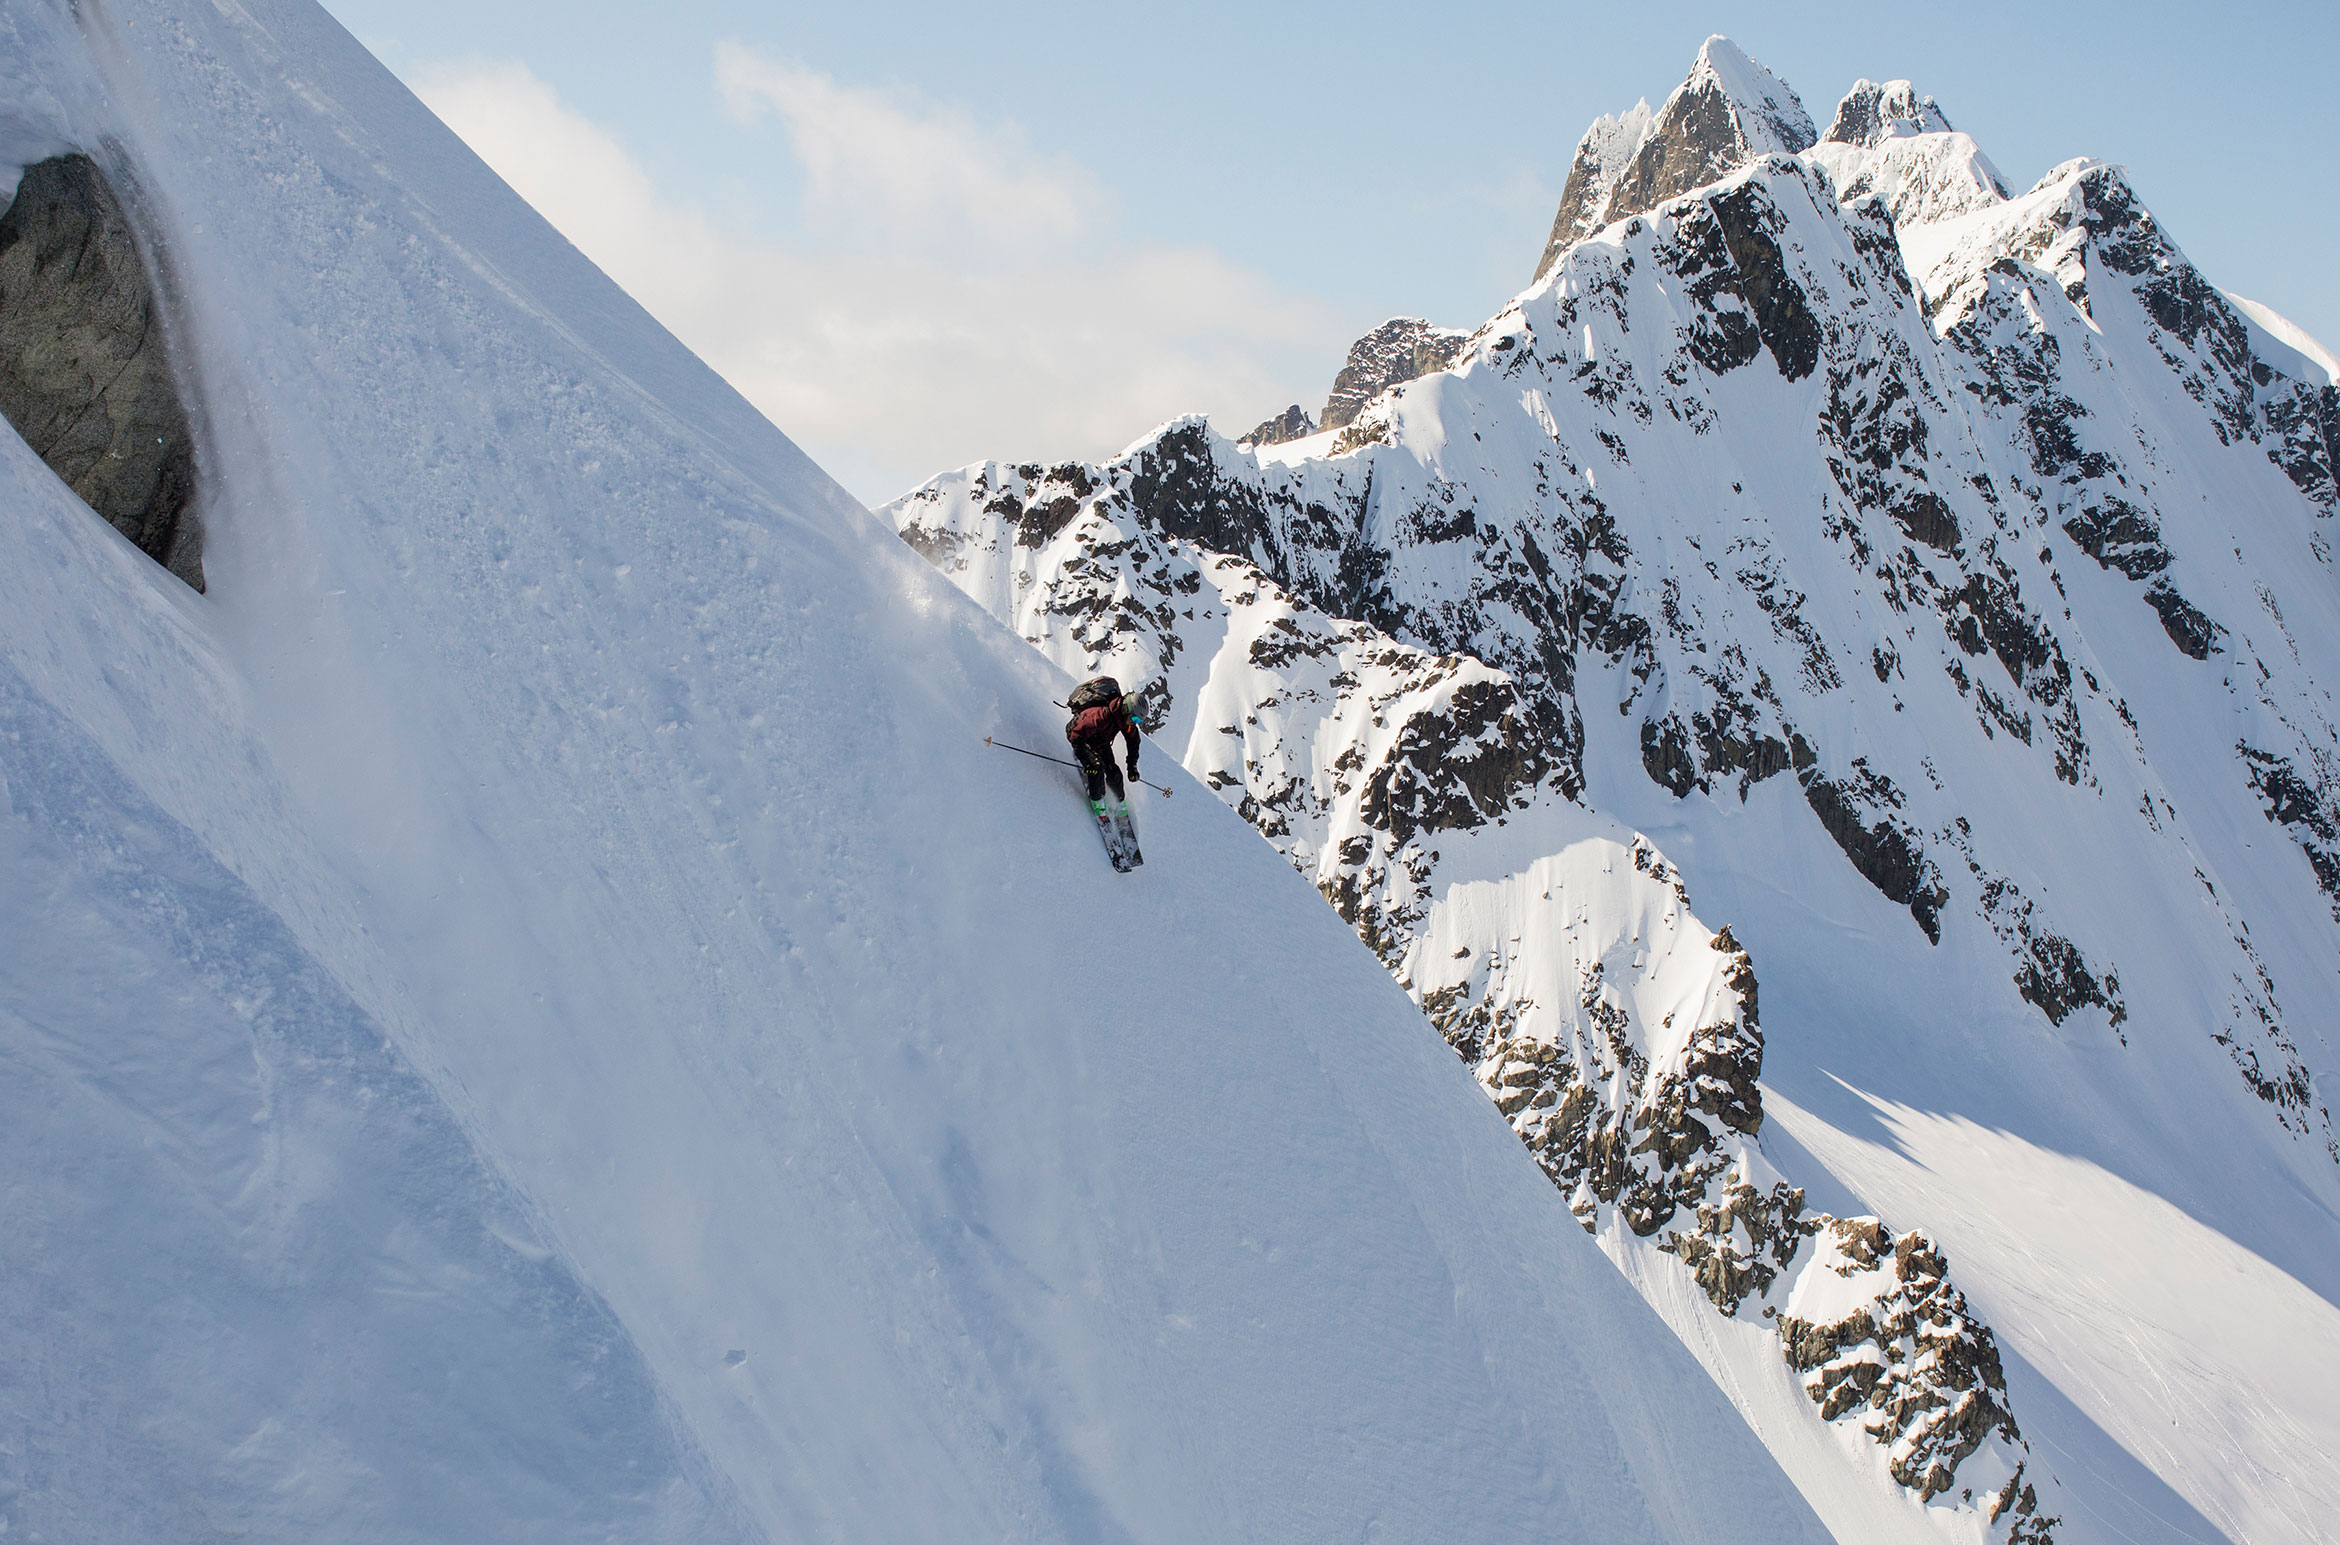
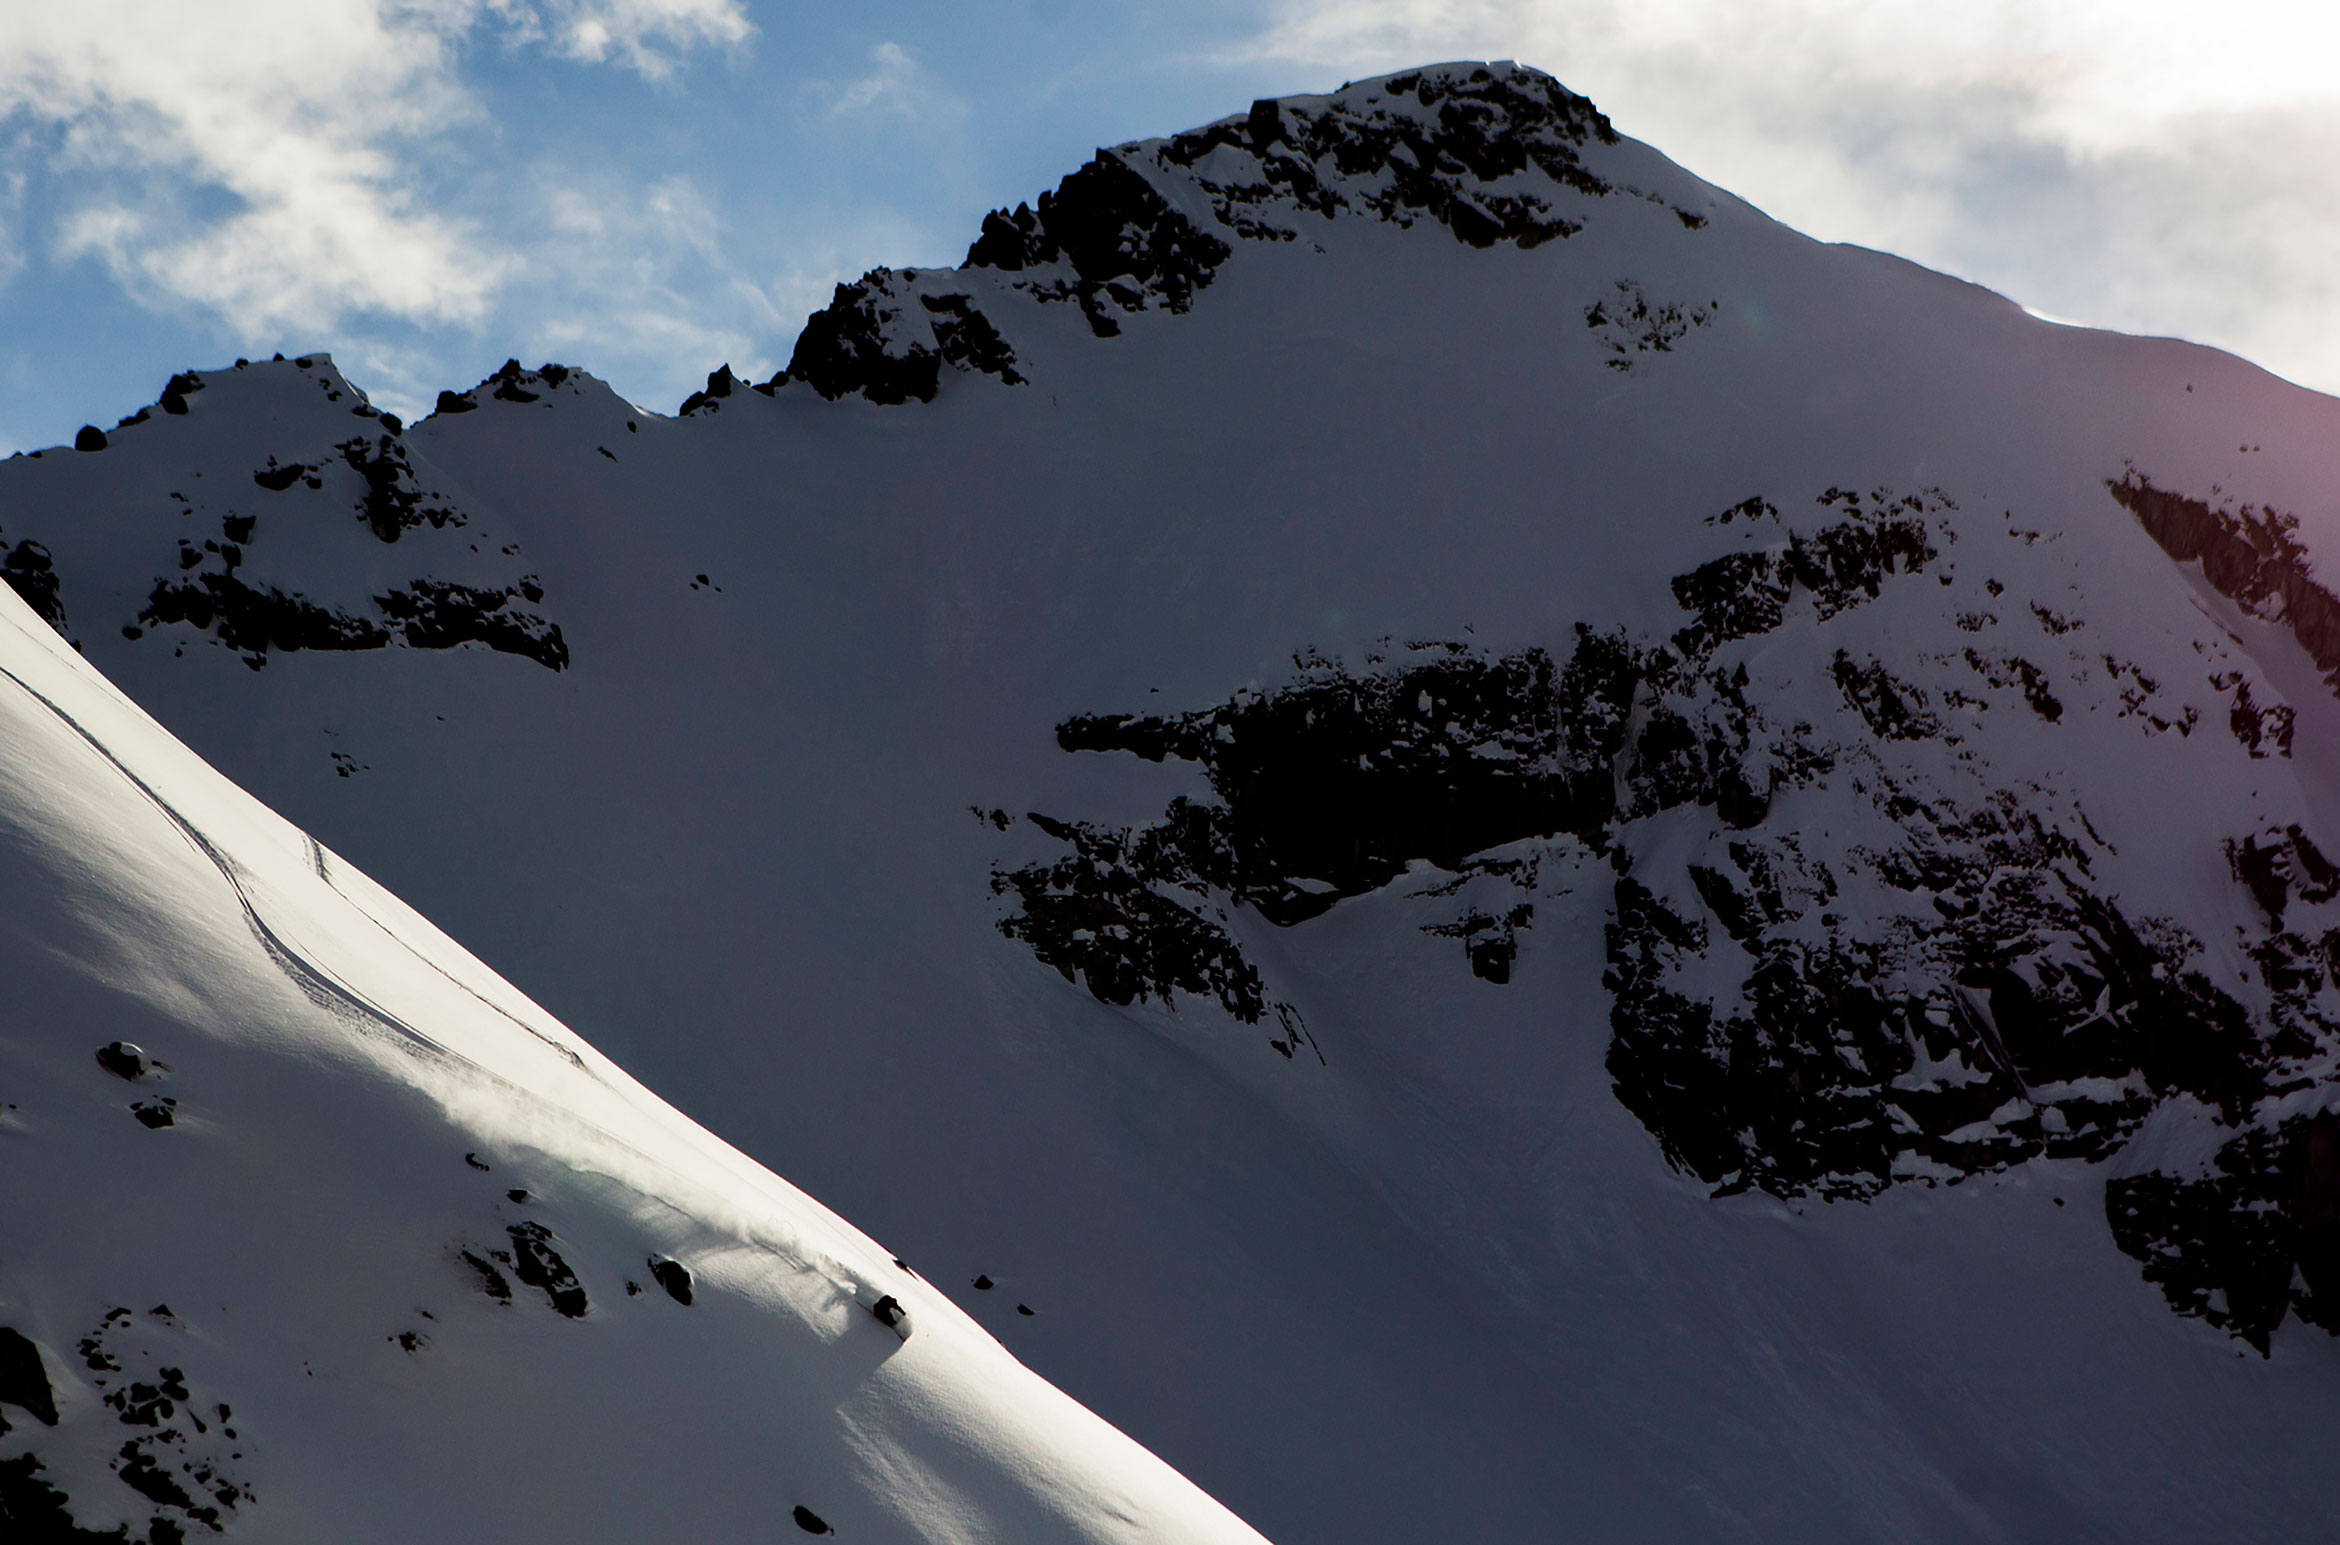
Off Blackcomb Mountain, you can access a plethora of drool-worthy shreddable lines that are classed as Complex Terrain. They’re not physically hard to reach, but the knowledge required to shred them safely isn’t covered in AST-1. If this is the kind of terrain you wish to ski and ride, keep reading as we share key resources that will help you be prepared for the challenges of Whistler’s backcountry.
Backcountry Gear For Progression
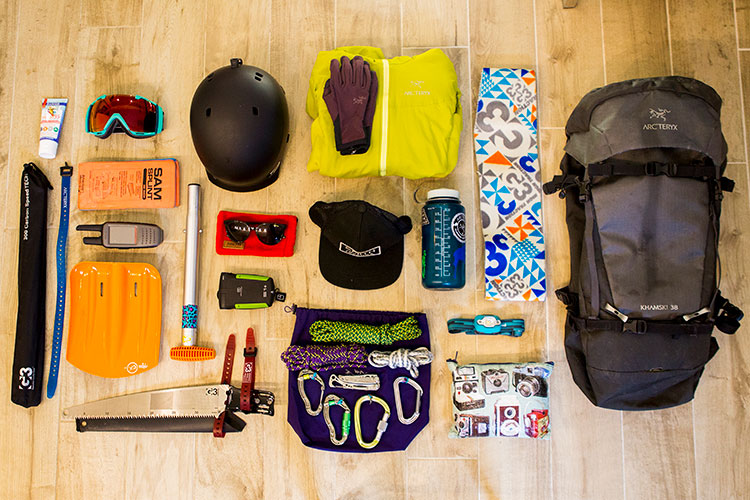
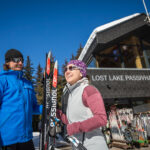
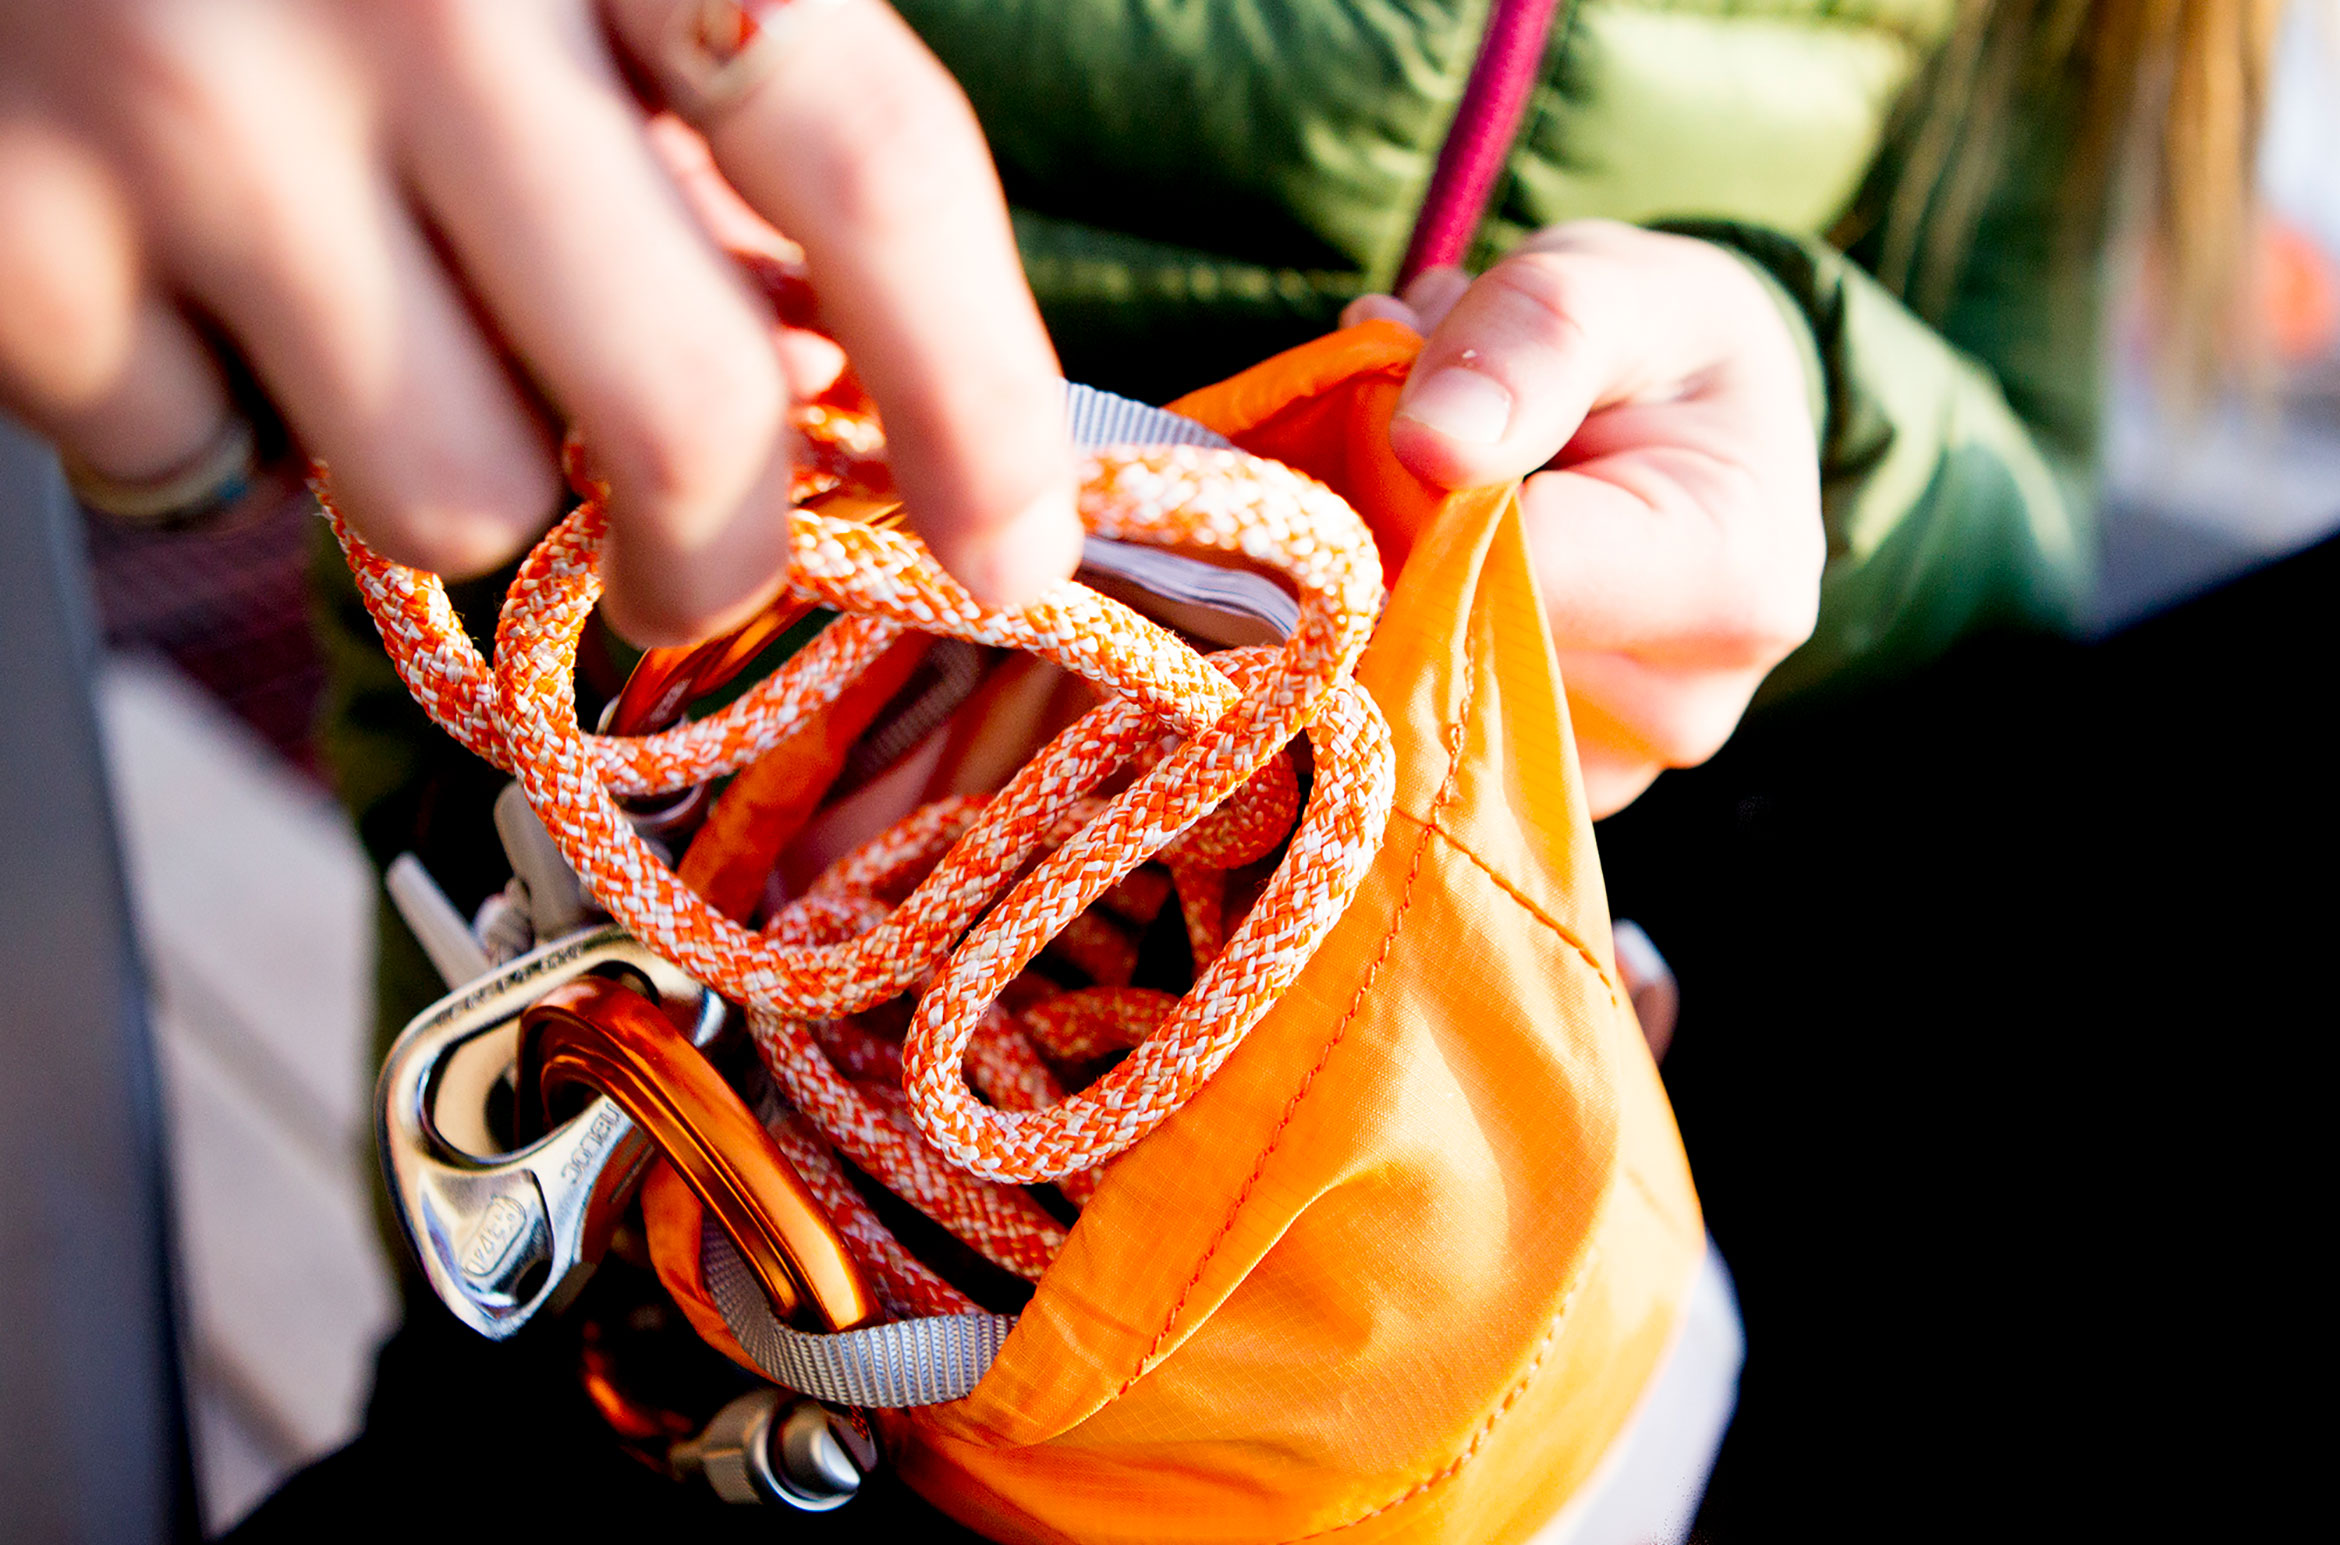
A transceiver (beacon), shovel and probe are mandatory safety gear for backcountry travel. You’ll also need a backpack to put it in, a first aid kit and a communication device – remember that your cell phone won’t have reliable service in many backcountry locations so investing in a satellite phone, Spot Device or InReach is a good idea.
Local gear retailers: Can-Ski, Coastal Culture Sports (Creekside), Comor Sports, Escape Route, evo, Showcase Snowboards and Summit Sport.
Local gear rental locations: Escape Route and evo Backcountry.
You should also be checking your gear and making sure it’s still in good condition and working well before each backcountry trip.
- Ensure your satellite communication device has an active plan and test the device before your next trip.
- Transceiver batteries should be removed in the summer and new ones put into your device at the start of winter. Check to see if any corrosion has happened where the batteries have been sitting on the contact points.
- Transceivers get software updates from time to time. Check your transceiver’s manufactures website for information at least once a season.
- Do a detailed check of your probe line wire to make sure that it isn’t rusty or frayed.
- If you noticed your shovel was jamming up or freezing in the shaft area last season, a bit of graphite lube may help. It can be messy, so wipe up any excess to avoid staining your clothing or backpack.
- Take inventory of your first aid and repair kit. Add anything that you used – do this after each trip.
If you’re looking to push for longer days in the backcountry or into more challenging terrain the consequences can also increase. To manage that risk, additional gear should be added to your pack. Keep in mind gear beyond the essentials will vary on your objective and exposure. Here are a few things to get you thinking about what that may entail as you pursue more education.
- A RAD (Rescue and Decent) kit for any glacier travel + harness
- Emergency shelter/bivy
- Crampons (ski and/or boot)
- Skin wax
- More snacks, water, and layers.
Gear is an investment but it has a direct correlation with safety, comfort and fun. Know your gear before you purchase it and continue to practice with it so you’re more than familiar with it for when you need to use it. The experts at Escape Route and Evo Whistler can help you set up for success.
More Training
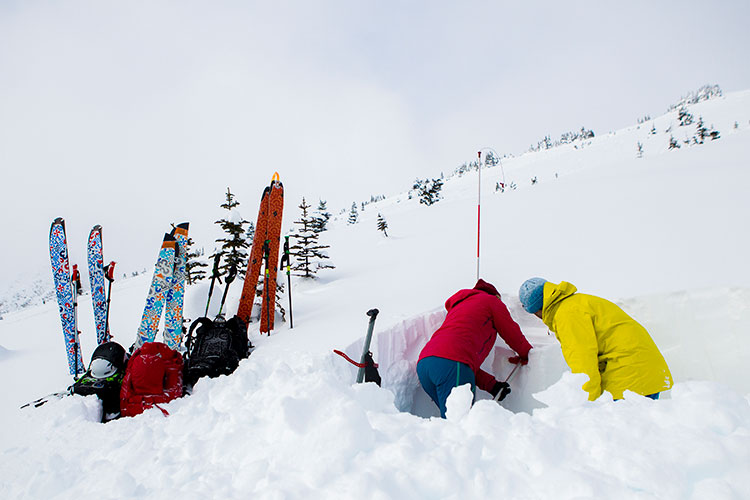
Register for an Avalanche Skills Training (AST) Level 1 course in Whistler through one of the providers below so you learn how to use your gear and how to travel safely in the mountains. The course covers things like reading the forecast, identifying safe terrain, a small amount of snow science for stability gauging, and companion rescue.
Whistler course providers: Extremely Canadian, Mountain Skills Academy and Adventures, Altus Mountain Guides and Coast Mountain Guides.
A natural progression beyond AST-1 is to go for your AST-2.
It expands on the foundations of your AST 1 and provides a more advanced decision-making framework for travelling in avalanche terrain. AST 2 comprises a minimum of 9.5 hours of classroom instruction with a minimum of three days in the field to put what you’ve learned into practice – Avalanche Canada.
Read more about the AST2 learning experience in our Avalanche Skills Training 2: Learning About the Human Factor blog.
Another approach to training is to go out with a guide; for learning, not following. Learning from qualified professionals is essential to growing your skillset. In Whistler, we have some incredible guide providers including Extremely Canadian, Mountain Skills Academy and Adventures, and Altus Mountain Guides. Each company has its own unique offerings for progression, so have a look at what they offer to determine which one is the best fit for you.
In-Depth Forecasting
A big part of backcountry education is learning to read the weather and what it tells you about the conditions you’ll face on any given day. Start with the synopsis on Avalanche Canada before diving into other websites like Mountain Forecast or Windy so you understand what bigger systems are happening before dissecting the weather for your exact location.
The Whistler Blackcomb website and app also have a detailed weather and avalanche report. Study the current conditions before every outing. How to interpret the forecast is something that will be covered in your AST Level 1 course, but just like any new skill, you’ll have to practice and put it to use often to retain it.
Online Resources: Backcountry Avalanche Advisory – Sea to Sky, Avalanche Canada and Whistler Blackcomb.
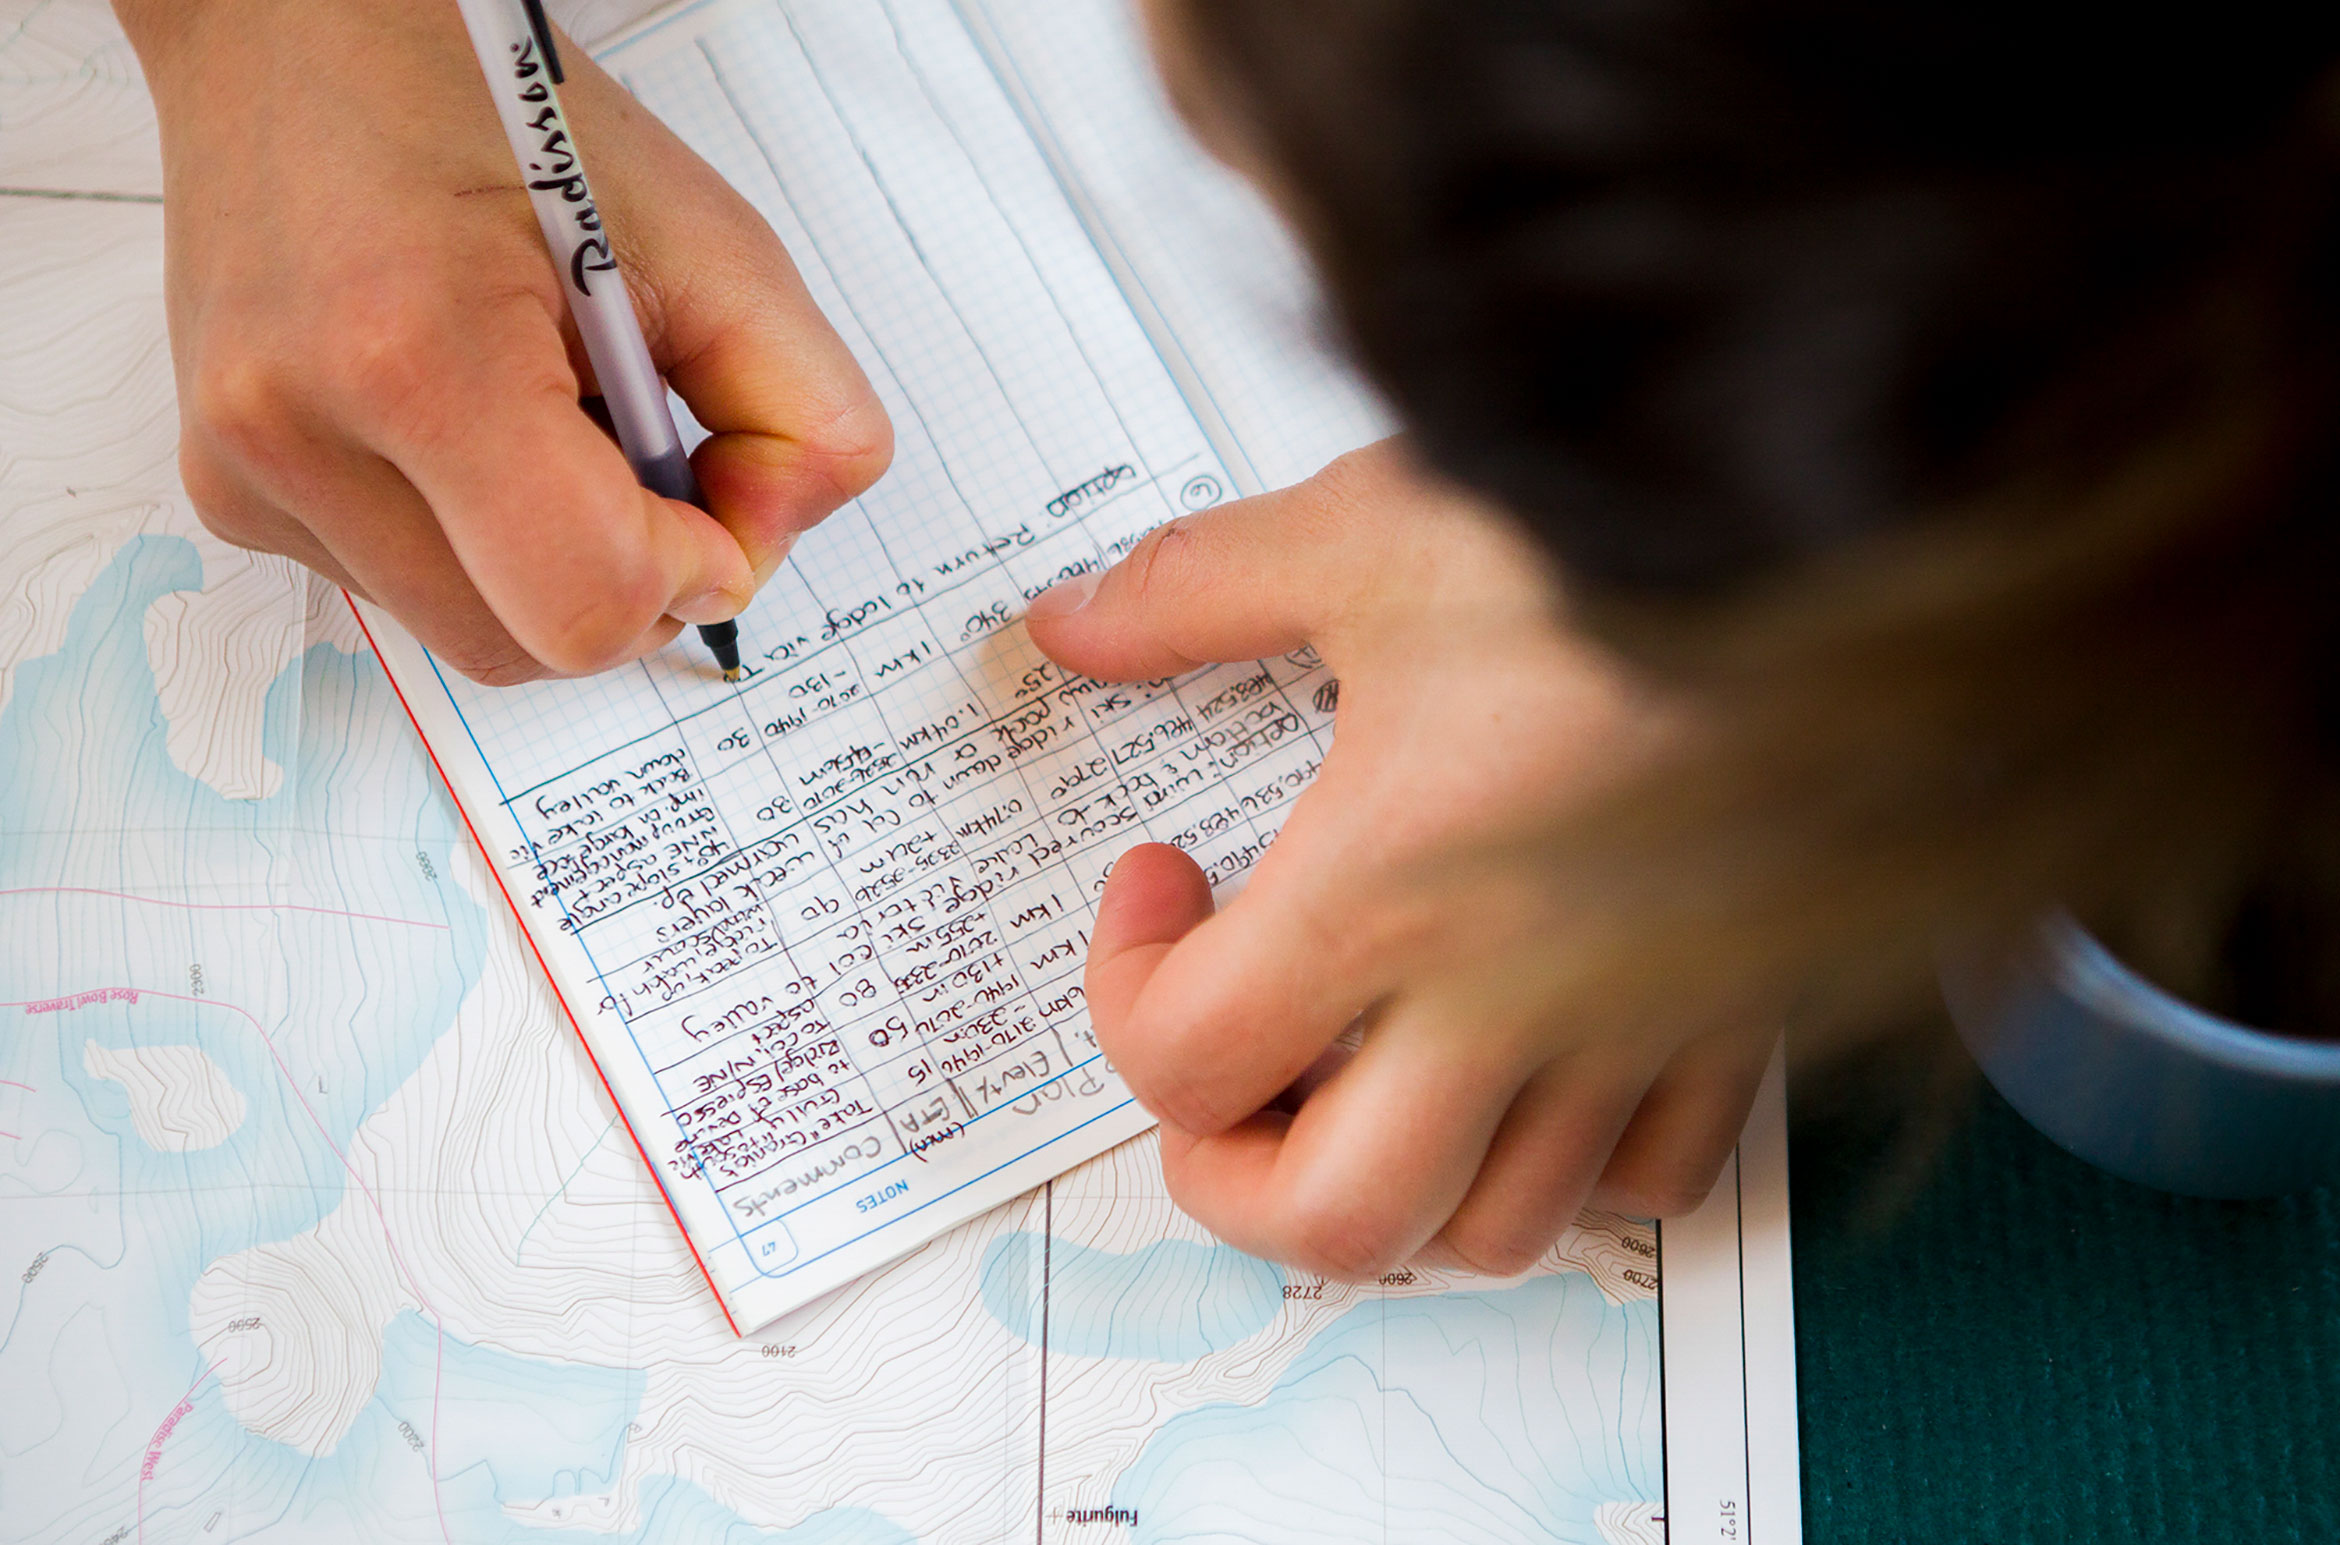
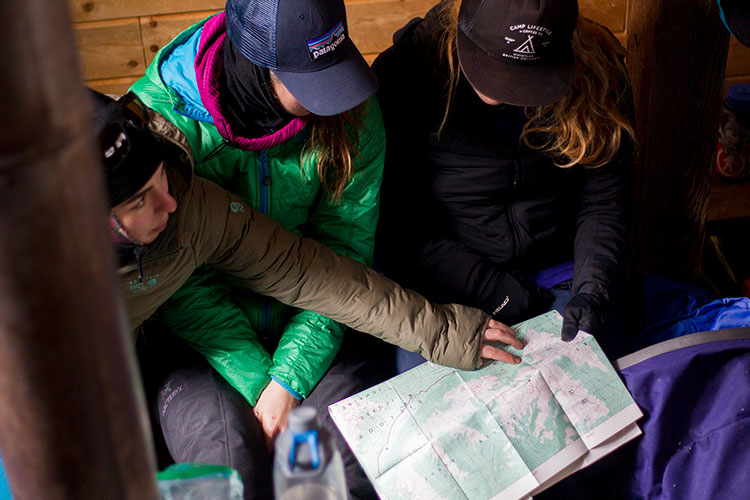
Big Picture Thinking
Getting a good feel for the day includes avalanche safety, terrain choices, weather forecast, proper education, good working gear and of course, solid group communication and objective alignment. The latter part is sometimes overlooked, but it’s critical that you do a review of your crew before you start and throughout your time in the backcountry.
Set yourself up for success, face shots and good times by making conservative choices. Being an active part of the decision making process is important, but what’s critical is knowing that you don’t know everything. Stick to what you do know and set your ego aside.
Recap the Basics
As you gain more knowledge, don’t forget to always take it back to the basics. Keep practicing what you’ve learned including companion rescue. The further you go, the more exposure you’ll have – it’s up to you to keep your skills and gear up to date and fresh in your mind.
Need a refresher on how to plan for an AdventureSmart outing? Take a read of Mountain and Backcountry Safety in Whistler.
Be patient with yourself and don’t rush – it may take longer than you think to do some of your bucket list Whistler backcountry tours as you’re dealing with terrain that has more risk factors to account for.
The allure of the backcountry is undeniable, especially when you get a taste for just how sweet it can be. With so many powder-filled peaks and valleys to explore in the Whistler area, we wish you all the best in your peruse of backcountry progression!
Spring savings are calling! There’s so much to see and do in spring, you’ll want plenty of time for fun in the sun. Extend your stay and book midweek for increased savings, with 3 nights starting from $135 CAD per night.
For summer, book ahead and save up to 25% on lodging. Plus, you'll receive a free $100 CAD Activity Voucher on stays of 3 or more nights ($200 for 5 nights).
Insider Tip: BC or Washington resident? Sign up for Whistler Rewards to access additional savings and exclusive perks.