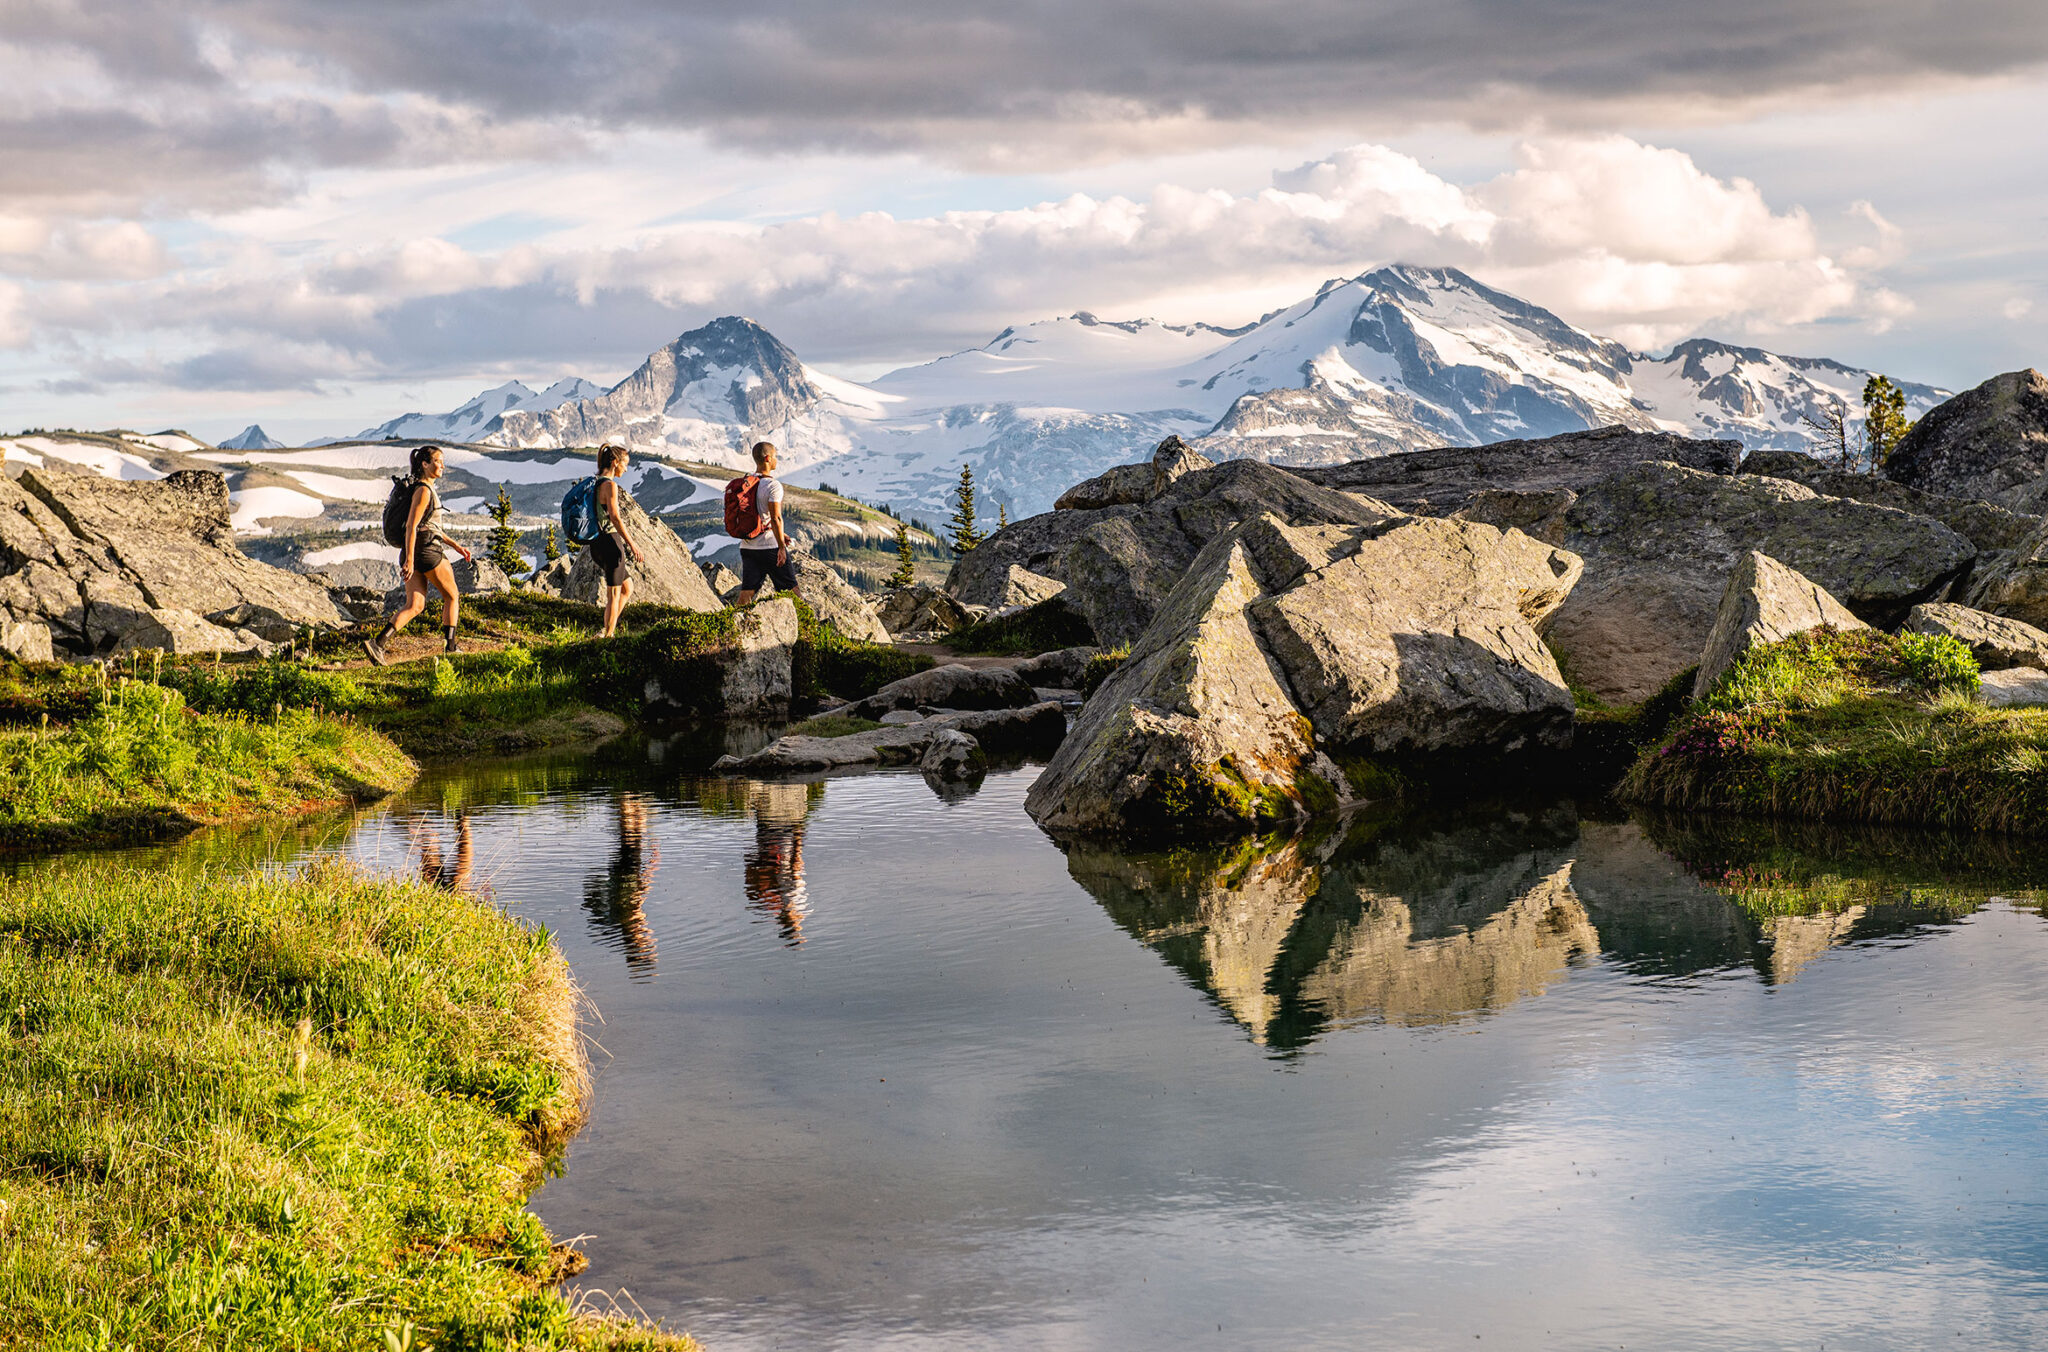
Fifty percent of Search and Rescue (SAR) callouts for hikers occur in the southwest region of British Columbia, which includes Whistler. Whistler Search and Rescue is one of ten SAR groups in the BC SAR Association’s Sea to Sky region and it’s at its busiest during the summer months.
The three main reasons people need help from Search and Rescue at this time of year are due to being lost or disorientated, becoming injured, or exceeding their abilities.
So, before you go out for a hike, mountain bike, or trail run in Whistler, think about what you need to know, do, and take so that you’re properly prepared for your adventure. Here are our top backpacking and hiking safety tips.
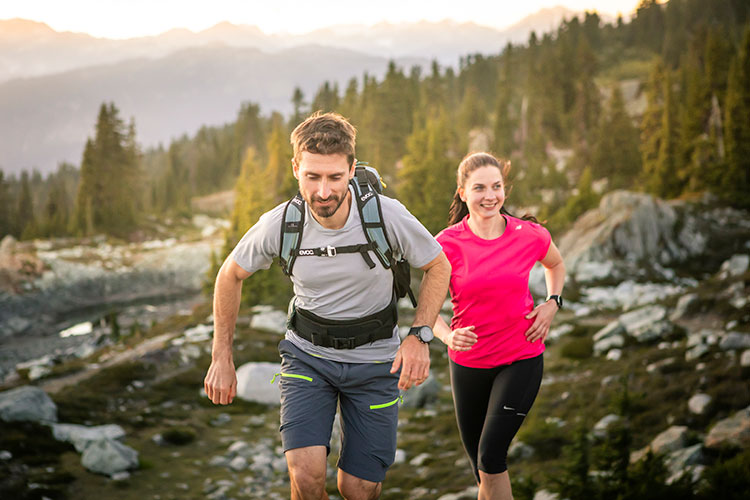
The Three Ts
- Trip Planning. Plan your travel route. Know the terrain and conditions. Check the weather and always fill out a trip plan.
- Training. Obtain the knowledge and skills you need before heading out. Know and stay within your limits.
- Taking the Essentials. Always carry these hiking gear essentials, and know how to use them. Add other equipment specific to your chosen activity, season and location.
If you’re going into the backcountry or on a longer hike or bike, you should ensure that you;
- Can analyze terrain and use a map / compass
- Understand and recognize weather patterns
- Can administer first aid in case of an emergency
- Know your limits (physically and mentally) and stay within them
- Check the weather before heading out
- Use and carry a communications device such as a SPOT, InReach or Zoleo as your means of SOS to call for help (don’t rely on your cell phone)
- Are aware of wildlife. Make noise as you go and carry bear spray or another deterrent, and have it in easy reach.
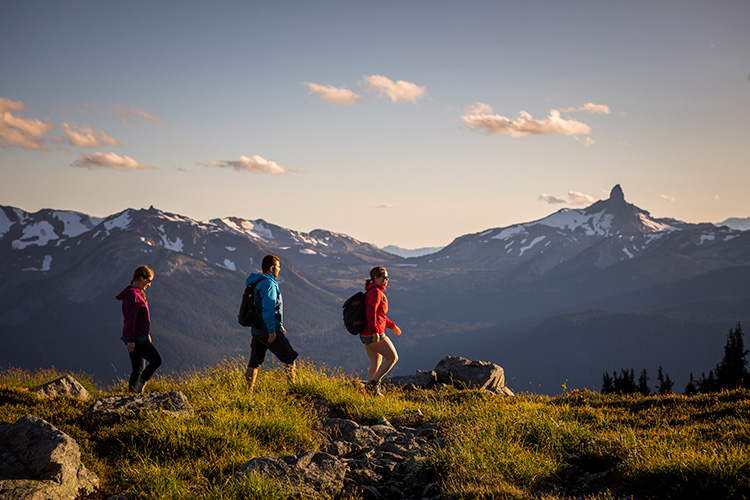
Lost and Disoriented
If you become lost or disorientated when you’re out and about, the best thing you can do is stay put. Don’t be tempted to navigate your way out by taking a shortcut or bushwhacking, it could lead to you getting even farther from where you want to go, put you in hazardous terrain, and farther from the route you marked on your Trip Plan.
The Trip Plan is what your emergency contact will refer to if you don’t come back by the designated time and they can’t contact you. They will pass that information on to the local police who will contact Search and Rescue who will start their search in the area you stated in your trip plan; a key reason not to deviate. At a distance of one kilometre from your planned route, the search area for volunteers is 3.1 kilometres. At three kilometres from your route, it increases to 28 square kilometres and at 10 kilometres it is 314 kilometres. That’s a lot of ground to cover for Search and Rescue volunteers.
The key safety tips to keep you from getting lost are:
- Planning your route
- Carrying a map and compass (and knowing how to use them)
- Keeping an eye on the weather and time, and knowing when to turn back
If you need to brush up on your pre-trip skills and planning (like map reading), consider taking a course. BC AdventureSmart has free online courses and weekly presentations; you might even see them out and about at popular trailheads in the summer offering site-specific safety tips. Learn more about orienteering.
About “Lost” Physiology and Psychology
Have you ever been lost before? How did you feel? Anxious, scared, nervous, worried? These feelings are sometimes called Woods Shock syndrome. “Don’t panic” is easier said than done. Our bodies and our minds can take on a life of their own in an emergency, and the more we understand the negative effects of fear, the better we can overcome them.
Although fear can be helpful at times, it can inhibit your judgment, fine and complex motor skills (freeze effect), metabolic process and circulation. To counteract these feelings, use the STOP acronym.
Stop as soon as you realize you might be lost. Do not wander around until you’re exhausted. If you deviate from your path, you might find yourself in hazardous terrain and actually make it harder for searchers to find you. Take a rest, stay warm, eat and drink, and move on to Think.
Think. You need to call 9-1-1 ASAP to let people know you are lost. The RCMP will connect with Whistler SAR (there is no charge for these volunteers to come to your aid) and they will get to you as quickly as possible.
How will you contact them? With your cell phone or communications device. When your phone makes an emergency 911 call, it will connect with any cell tower in range, even if it is not from your network provider. Therefore, a 9-1-1 call may go through even if you are not otherwise able to get cell reception where you are. However, you should not rely on a cell phone as your only form of communication; have a satellite device like a SPOT, InReach, or Zoleo in your pack too.
Will anybody know I’m lost / missing? Will they know where to start looking? Yes, because you filled out a Trip Plan with all the details and left it with someone who knows what to do.
Are you prepared to treat a medical emergency? Yes, you’ve taken first aid training and have a basic kit with you.
Do you have the essentials to stay warm and dry? Yes, you’ve packed all your essentials, along with seasonal and sport-specific gear.
Observe. Are there any immediate dangers or hazards? For example, move away from slopes that look unstable and know where any cliff edges are. Is there a good spot for a shelter? Flat, dry ground, away from any hazards is ideal. Get your map and compass out, look around for any landmarks that could help searchers find you and move to a nearby clearing that would make spotting you easier. If you are familiar with your smartphone’s capabilities, you may know how to obtain its GPS reading. On iPhones, for example, the GPS coordinates are displayed in the compass app if your location services are turned on. During the 9-1-1 call, you can relay these coordinates to the operator, who will then pass that information on to search crews.
Plan. While you wait for the search team to find you, you could start putting on your extra clothing and waterproof layers, build a shelter and start a fire to keep warm while you wait. You could also have your flashlight / headlamp and whistle handy for attracting attention when you think the SAR team could be close.
The same goes for if you don’t have a communications device and didn’t leave a trip plan with anyone; stay where you are. Often, when people move around, they end up in features that put them in danger like creek beds, drainages and natural draws on the mountainside. These can lead to cliffs, unstable ground, slippery rocks / ground, which increase the rates of injury and, in some cases, fatalities. It’s likely someone will notice your absence, the car you parked at the bottom of the trail, you not turning up to work, etc. Your plan is to keep warm and hydrated until searchers find you, and near an obvious path is the best place.
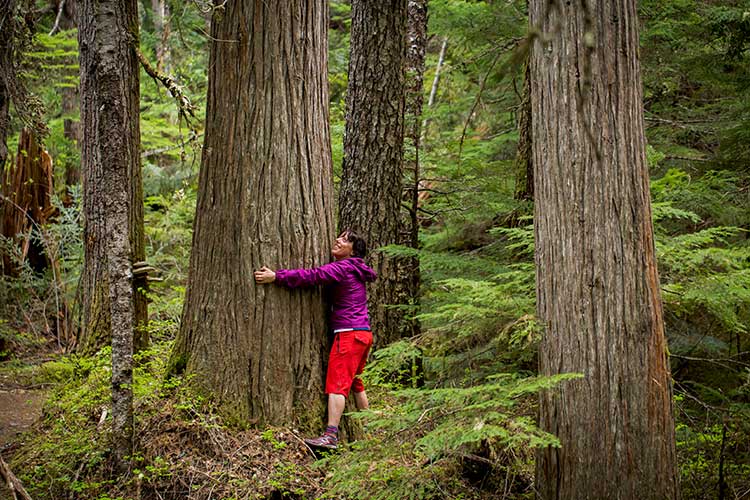
Injury
One of the key safety tips for avoiding injury is to start slow. Take your time at the beginning of the summer and ease into your adventures. It may have been a while since you laced up your hiking boots or running shoes, got your seat in the saddle, or packed your backpack. It’s best to not over-exert yourself early on. Short, local hikes and bikes are great ways to get your cardio back into shape, then you can work your way up to longer and more technical terrain when you’re ready.
Practice listening to your body and when you feel fatigued, achy, thirsty, hungry, mentally drained, or develop blisters, address those issues immediately. There’s an adage about the last run of the day being the most accident-prone and that’s because people often push themselves too hard, forgetting that the end destination is home, and ideally, that you should get there under your own steam.
Common sense is not always that common! Before you head out on an adventure, you should consider what you’re mentally prepared for. Pre-planning for potential issues or emergencies can put your mind at rest (you have a plan), and help you react quickly if a situation arises. One of the most common decisions that people face is when to turn back. Having the confidence to voice how you’re feeling physically, mentally and situationally is critical. The group might want to push on to reach the summit you were aiming for, but with the weather coming in and a few of you looking tired already, it’s best to call it and save it for another day. Sound judgment is one of the best safety tools you can have.
We can train for mental strength by taking courses, which empower us to safely address and overcome conundrums on the trail. It can also help to discuss, with the group, what happens in certain situations ahead of time; this sets expectations. Lessons are well learned during adventure debriefs as well; chat with your buddies during après and see what everyone learned that day. This will build your memory bank and mental backpack.
Learn more about injury prevention.
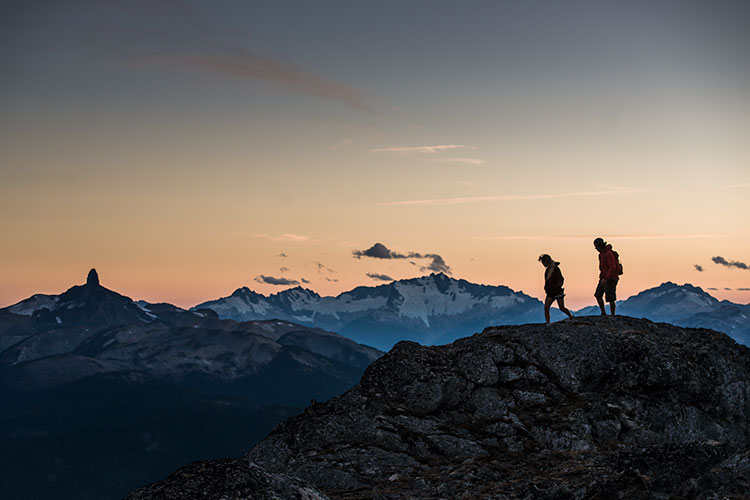
Exceeding Your Abilities
Let’s talk about risk and risk management in relation to decisions out on the trails. Taking a risk means exposing yourself to a hazard, like navigating a broken bridge on a hike, or attempting a gnarly rock roll on a bike trail; you’re the one who has to think of the consequences and decide what the right decision is for you, and sometimes, for the group you’re with.
Although you might feel confident navigating that rickety bridge, if there are others in your group who aren’t, the decision should be obvious – you don’t do it. Before you leave on your adventure, it’s a good idea to assess the ability level of everyone in your group, their goals for the day and their comfort level (put it in your Trip Plan). This alignment can make for better and quicker decision-making when you’re on the trail, and ensure everyone comes back safely.
If you’re attempting that nemesis rock roll on your bike, where are you in relation to people who could help if things do go wrong? Are the people you’re with equipped to deal with an emergency situation? You need to think fully about the ramifications of your decisions before you make them.
One way to pre-plan for potential risks is to research the trail you’re considering. There are trail reports, websites and forums where people will have posted about the conditions, obstructions, sketchy areas, etc. Do your homework before you head out, and always take into consideration the weather and its potential effect on the trail conditions as well.
Take a look at North Shore Rescue’s Survive Your Own Adventure interactive video; another tool to test how ready you are for a backcountry adventure. Learn more about decision-making.
Other things that you should be aware of when exploring in and around Whistler in the summer are:
-
- Check yourself for ticks after time in the forest
- Be aware of Whistler’s glacially-fed lakes (read: they’re cold) and the 1-10-1 principle of cold water immersion. Read more on AdventureSmart’s water safety page.
- Wear sunscreen and stay hydrated
Whistler has so many things to offer the adventurer; we just want you to explore safely. To get you going and increase your confidence, you could always opt for a guided tour to start, and the team at Whistler.com can help you book that. Check out BC AdventureSmart’s online weekly safety webinars, and their special events and training opportunities, all also listed on their Facebook events page and on AdventureSmart.ca.
BC AdventureSmart helps reduce the number and severity of Search & Rescue incidents in BC. Find more outdoor safety tips at BC Search & Rescue Association, also at AdventureSmart.ca and on BC AdventureSmart’s social media: Instagram, Facebook, and Twitter.
Save up to 20% on lodging with Whistler.com this summer. Stay & Golf from $289 CAD per person, per night or Stay & Bike from $179 CAD per person, per night. Sign up to be a Rewards by Whistler.com Member and receive a FREE $50 CAD activity voucher on stays of 3+ nights.
You can also win a summer trip to Whistler with the Escape the Ordinary contest!
