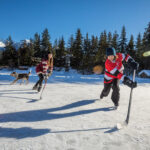
Snowshoeing has long been a winter mode of travel in Canada. Historians haven’t pinpointed where snowshoes first originated, but it is theorized they were inspired by animals with over-sized paws, like the snowshoe hare, that move efficiently across the snowpack.
The Canadian Encyclopedia credits traditional snowshoes made by Indigenous Peoples of Canada as being as integral to opening up this country as the canoe, wagon or railway. The light-weight, modern versions offer a great way to explore Whistler’s winter scenery at a slower pace than most of our winter sports.
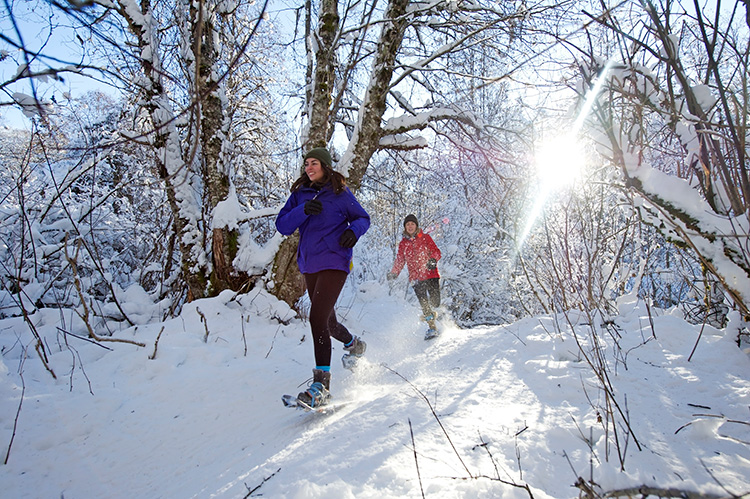
If you can walk, you can snowshoe — you’re just going to have to get used to a slightly wider stance. With a large variety of trails to choose from, you can take a half, or whole day to slow down and soak up the views as you explore Whistler via snowshoe.
Snowshoe Safety
Most of Whistler’s snowshoe appropriate trails are located within four main areas; Lost Lake, Rainbow Mountain, Cheakamus, and the Callaghan Valley. Lost Lake and the Callaghan are patrolled and you can find handy condition reports online, whereas with Rainbow and Cheakamus we recommend you check the weather and avalanche forecast before you head out.
It’s important to keep in mind, when venturing into unmaintained areas, that you need to be backcountry prepared and knowledgeable of hazards such as tree wells, cornices, and avalanches. Avalanche Skills Training courses are available in Whistler through Mountain Skills Academy and are worth considering if you want to tackle the more difficult routes outlined below.
What to Wear & Pack
Dress like you would for skiing or snowboarding, you can always take off a layer and throw it in your day pack if you get too toasty going up. Snow or waterproof pants are best, preferably ones you can fold up the hem on or tuck into your snow boots, so they don’t drag or get caught. You might think you’d be able to get away with yoga pants for the shorter trails but, if they’re not waterproof, you’ll end up with a damp backside from snow flicking up off your snowshoes.
Pack your day bag the same as you would for a day hike, with enough food and water in case of emergency, first-aid kit and a headlamp should you take longer than expected. If you’re heading into one of the unmonitored areas, backcountry safety gear such as a probe, shovel, beacon, etc. are necessary.
Lost Lake Park
Lost Lake isn’t only for summer, this incredible trail network turns snowshoe and cross-country ski friendly in the winter making it explorable year-round. You don’t need a car to get to Lost Lake either, it is a short walk or bus ride from both Whistler Village and the Upper Village. Conveniently, there are also rentals on-site at Cross Country Connection (located inside the Lost Lake PassivHaus), so you don’t have to lug any gear there and back.
Snowshoe Package: $20 (at time of publishing) | Onsite Rentals: Yes | Conditions Report | Map
Highlighted Trails:
EASY: Nature Trail
A pleasant meander through the forest that takes you to the main beach of Lost Lake and back. Perfect for packing a picnic.
Distance: 3.2 KM Round-trip
MODERATE: Gypsy Drum / Tin Pants
Take Nature Trail to Gypsy Drum to begin your loop. This trail offers the most scenic lookouts of all the Lost Lake snowshoe routes.
Distance: 2.7 KM Round-trip
DIFFICULT: Donkey Puncher / Molly Hogan
Enter from Nature Trail to begin the loop around the lake. The longest of the bunch, this option will take you around the whole lake with ups and downs throughout the surrounding forest.
Distance: 5.5 KM Round-trip
Rainbow Mountain
The Rainbow Mountain area is full of trails worthy of snowshoeing. The trails noted below are all accessible by the same sign-posted parking lot on Alta Lake Road (see the Trailhead Map for directions). This is an unmaintained area with no rental facilities on-site, so make sure you’re prepared and that people know where you’re going and what time you’re expecting to return.
Free | Onsite Rentals: No | Backcountry Conditions | Map
Highlighted Trails:
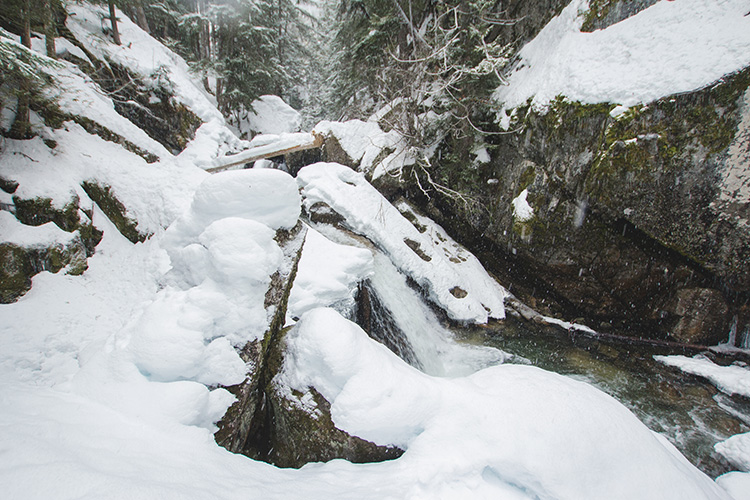
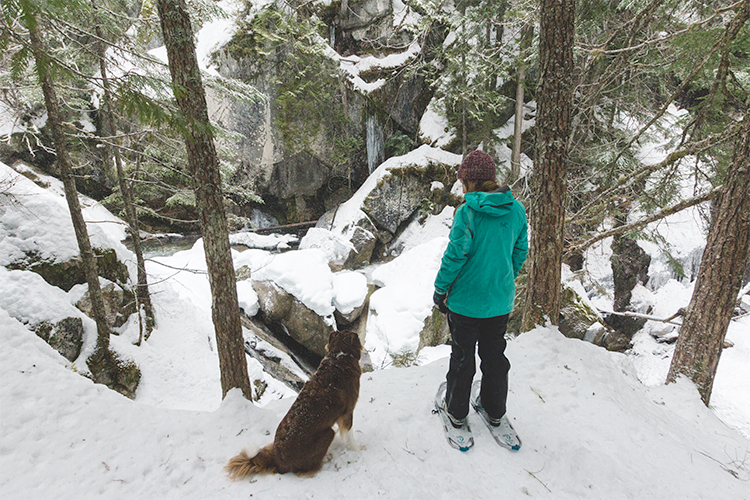
EASY: Rainbow Falls
A short winding trail through the forest deposits you at a waterfall surrounded by boulders dripping with icicles. You can make this trail a loop by heading upwards past the falls to a wooden bridge spanning 21 Mile Creek. Note: there are times when the snow comes up to the barrier level on the bridge, use your common sense as to whether you think it’s a good idea to cross it.
Distance: 2 KM Round-trip | Elevation Gain: 150 M
MODERATE (be backcountry prepared): Mid Flank Trail
Accessible by the Rainbow Lake Trail or Alpine Meadows the Mid Flank Trail is a section of the larger Flank Trail (which is 40 kilometres long). If you use the Trail Forks app, then you start at Rick’s Roost, hit Flank and then come down Whip Me Snip Me, but really, you can choose your adventure along this route. It can be done as a one-way or an out- and-back trail. This trail is worth doing for the views of Whistler and Blackcomb Mountains alone.
Distance: 6.5 KM Approx. One-way | Elevation Gain: 500 M
DIFFICULT (be backcountry prepared): Rainbow Lake
This all-day snowshoe will take you up to the stunning vista at a frozen Rainbow Lake. The trail takes you into the forest, over a creek, and through a boulder field on the way, offering a nice variety to the terrain, with the mountains playing peek-a-boo throughout.
Distance: 16 KM Round-trip | Elevation Gain: 910 M
Cheakamus
The Cheakamus area has many walking and hiking trails that can be utilized for snowshoeing in the winter. Due to the accessibility and popularity, some of these trails will be packed down and are possible to do without snowshoes if there’s no fresh snow.
See the Trailhead Map for directions.
Free | Onsite Rentals: No | Backcountry Conditions | Maps: Whistler Interpretive Forest, and Train Wreck
Highlighted Trails:
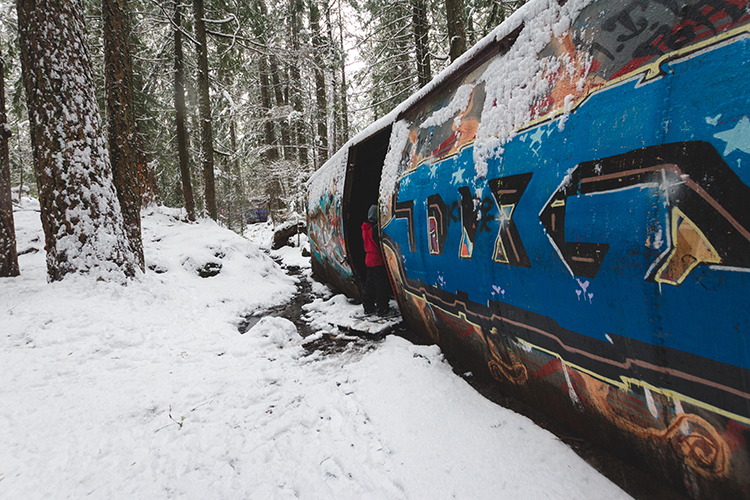
EASY: Train Wreck
This trail is mellow with only one short decline before the river crossing. A suspension bridge will take you over the roaring Cheakamus River and into the unique train wreck site. The parking lot is small and often full, consider taking transit or parking at the Whistler Interpretive Forest parking lot and extending your walk.
Distance: 5 KM Round-trip | Elevation Gain: Minimal
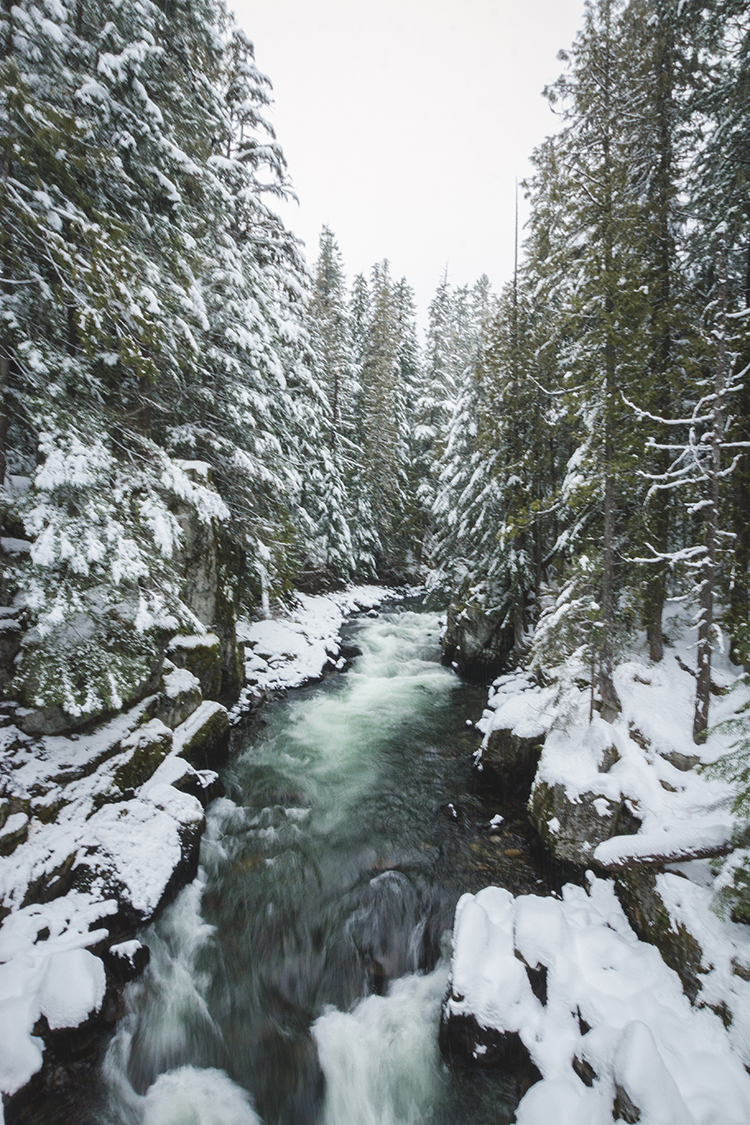
MODERATE: Riverside Trail and Farside Trail Loop
Follow the Cheakamus River and watch how it has carved out the landscape defining the surrounding coastal temperate rainforest. Cross the river at the bridge and come back along Farside Trail to make it a loop.
Distance: 6 KM Round-trip | Elevation Gain: Minimal
DIFFICULT (be backcountry prepared): Cheakamus Lake
Getting to the Cheakamus Lake trail in the winter requires a 7 KM walk on an unmaintained forest service making it an all-day affair. Once at the lake you can snowshoe along the shoreline taking in views of the impressive Coast Mountains.
Distance: 28 KM Round-trip | Elevation Gain: 150 M
Ski Callaghan at Whistler Olympic Park
Home of many events during the 2010 Winter Olympics, Whistler Olympic Park has a day lodge, rental store, and loads of parking. There are many trails dedicated to snowshoeing to choose from at a variety of lengths and difficulty. Many of the trails are short enough that you can pick and choose a couple to do in one day.
Adult Day Pass: $20 | Onsite Rentals: Yes | Conditions Report | Map
Highlighted Trails:
EASY: Real Life
This wide, family-friendly (dogs included) trail will take you to some of the biggest old-growth cedar trees in Whistler. They’re worth the trek!
Distance: 4.9 KM | Elevation Gain: 230 M
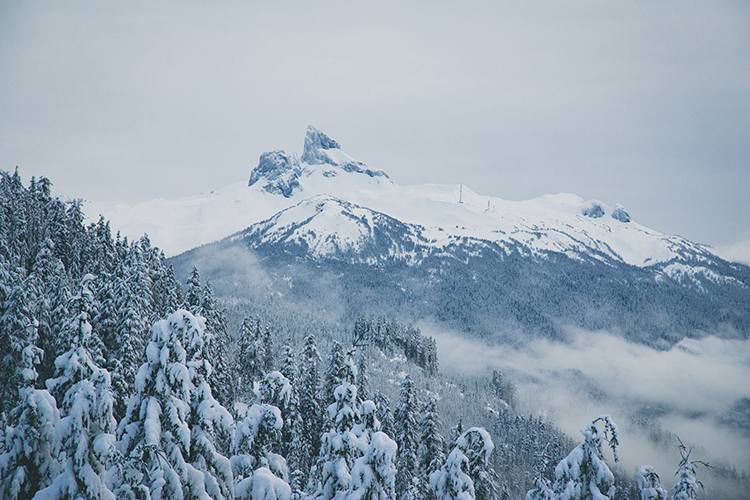
MODERATE: Lookout Explorer
This trail starts out in lowlands, gaining elevation until you reach the lookout. A shelter sits ready for you to take a moment to rest or refuel and appreciate the view of Black Tusk. You can add on Black Tusk Explorer for a longer excursion.
Distance: 3.2 KM | Elevation Gain: 120 M
DIFFICULT: Alexander Falls Explorer / Express
The massive 55-metre waterfall freezes in low temperatures, adding a surreal, suspended-in-time feeling to the landscape. You can take the less difficult Finger Lakes trail to Alexander Falls Explorer and double back from the falls, make a loop with the Express trail, or solely take Express out and back.
Distance: 3-5 KM | Elevation Gain: 140 M
Guided Tours
If you’re new to snowshoeing, want to explore otherwise inaccessible terrain or like learning with your adventure, consider taking a guided snowshoe tour. With tours that include everything from medicinal plant knowledge to eagle watching, there’s sure to be one that piques your interest.
Looking for more winter experiences that’ll make your Whistler vacation one for the books? Whistler.com has all the inspiration you need.